


 レシピを投稿する
トップ > 「家具・照明」のDIYレシピ > IKEAのスツールをペイント&IKEAの脚を付けた机*。
IKEAのスツールをペイント&IKEAの脚を付けた机*。
moe
2018年08月31日
IKEAの商品を自分好みにアレンジしました♪
かかった費用: 12,000円
所要時間: 2時間
いいね
2
お気に入り
0
このレシピをシェア


材料
IKEAのスツール FROSTA 2
水性ペンキ
ポプラ無垢板1550×380×25mm
脚 ADILS 4
水性ウレタンニス
水性ペンキ
ポプラ無垢板1550×380×25mm
脚 ADILS 4
水性ウレタンニス
工具
スポンジハケ
ドライバー
ドライバー
step1
無垢板にIKEAの脚を付けて、ニスを塗りました。
ニスはニッペさんの物で、カラーはクリアーを使っています。
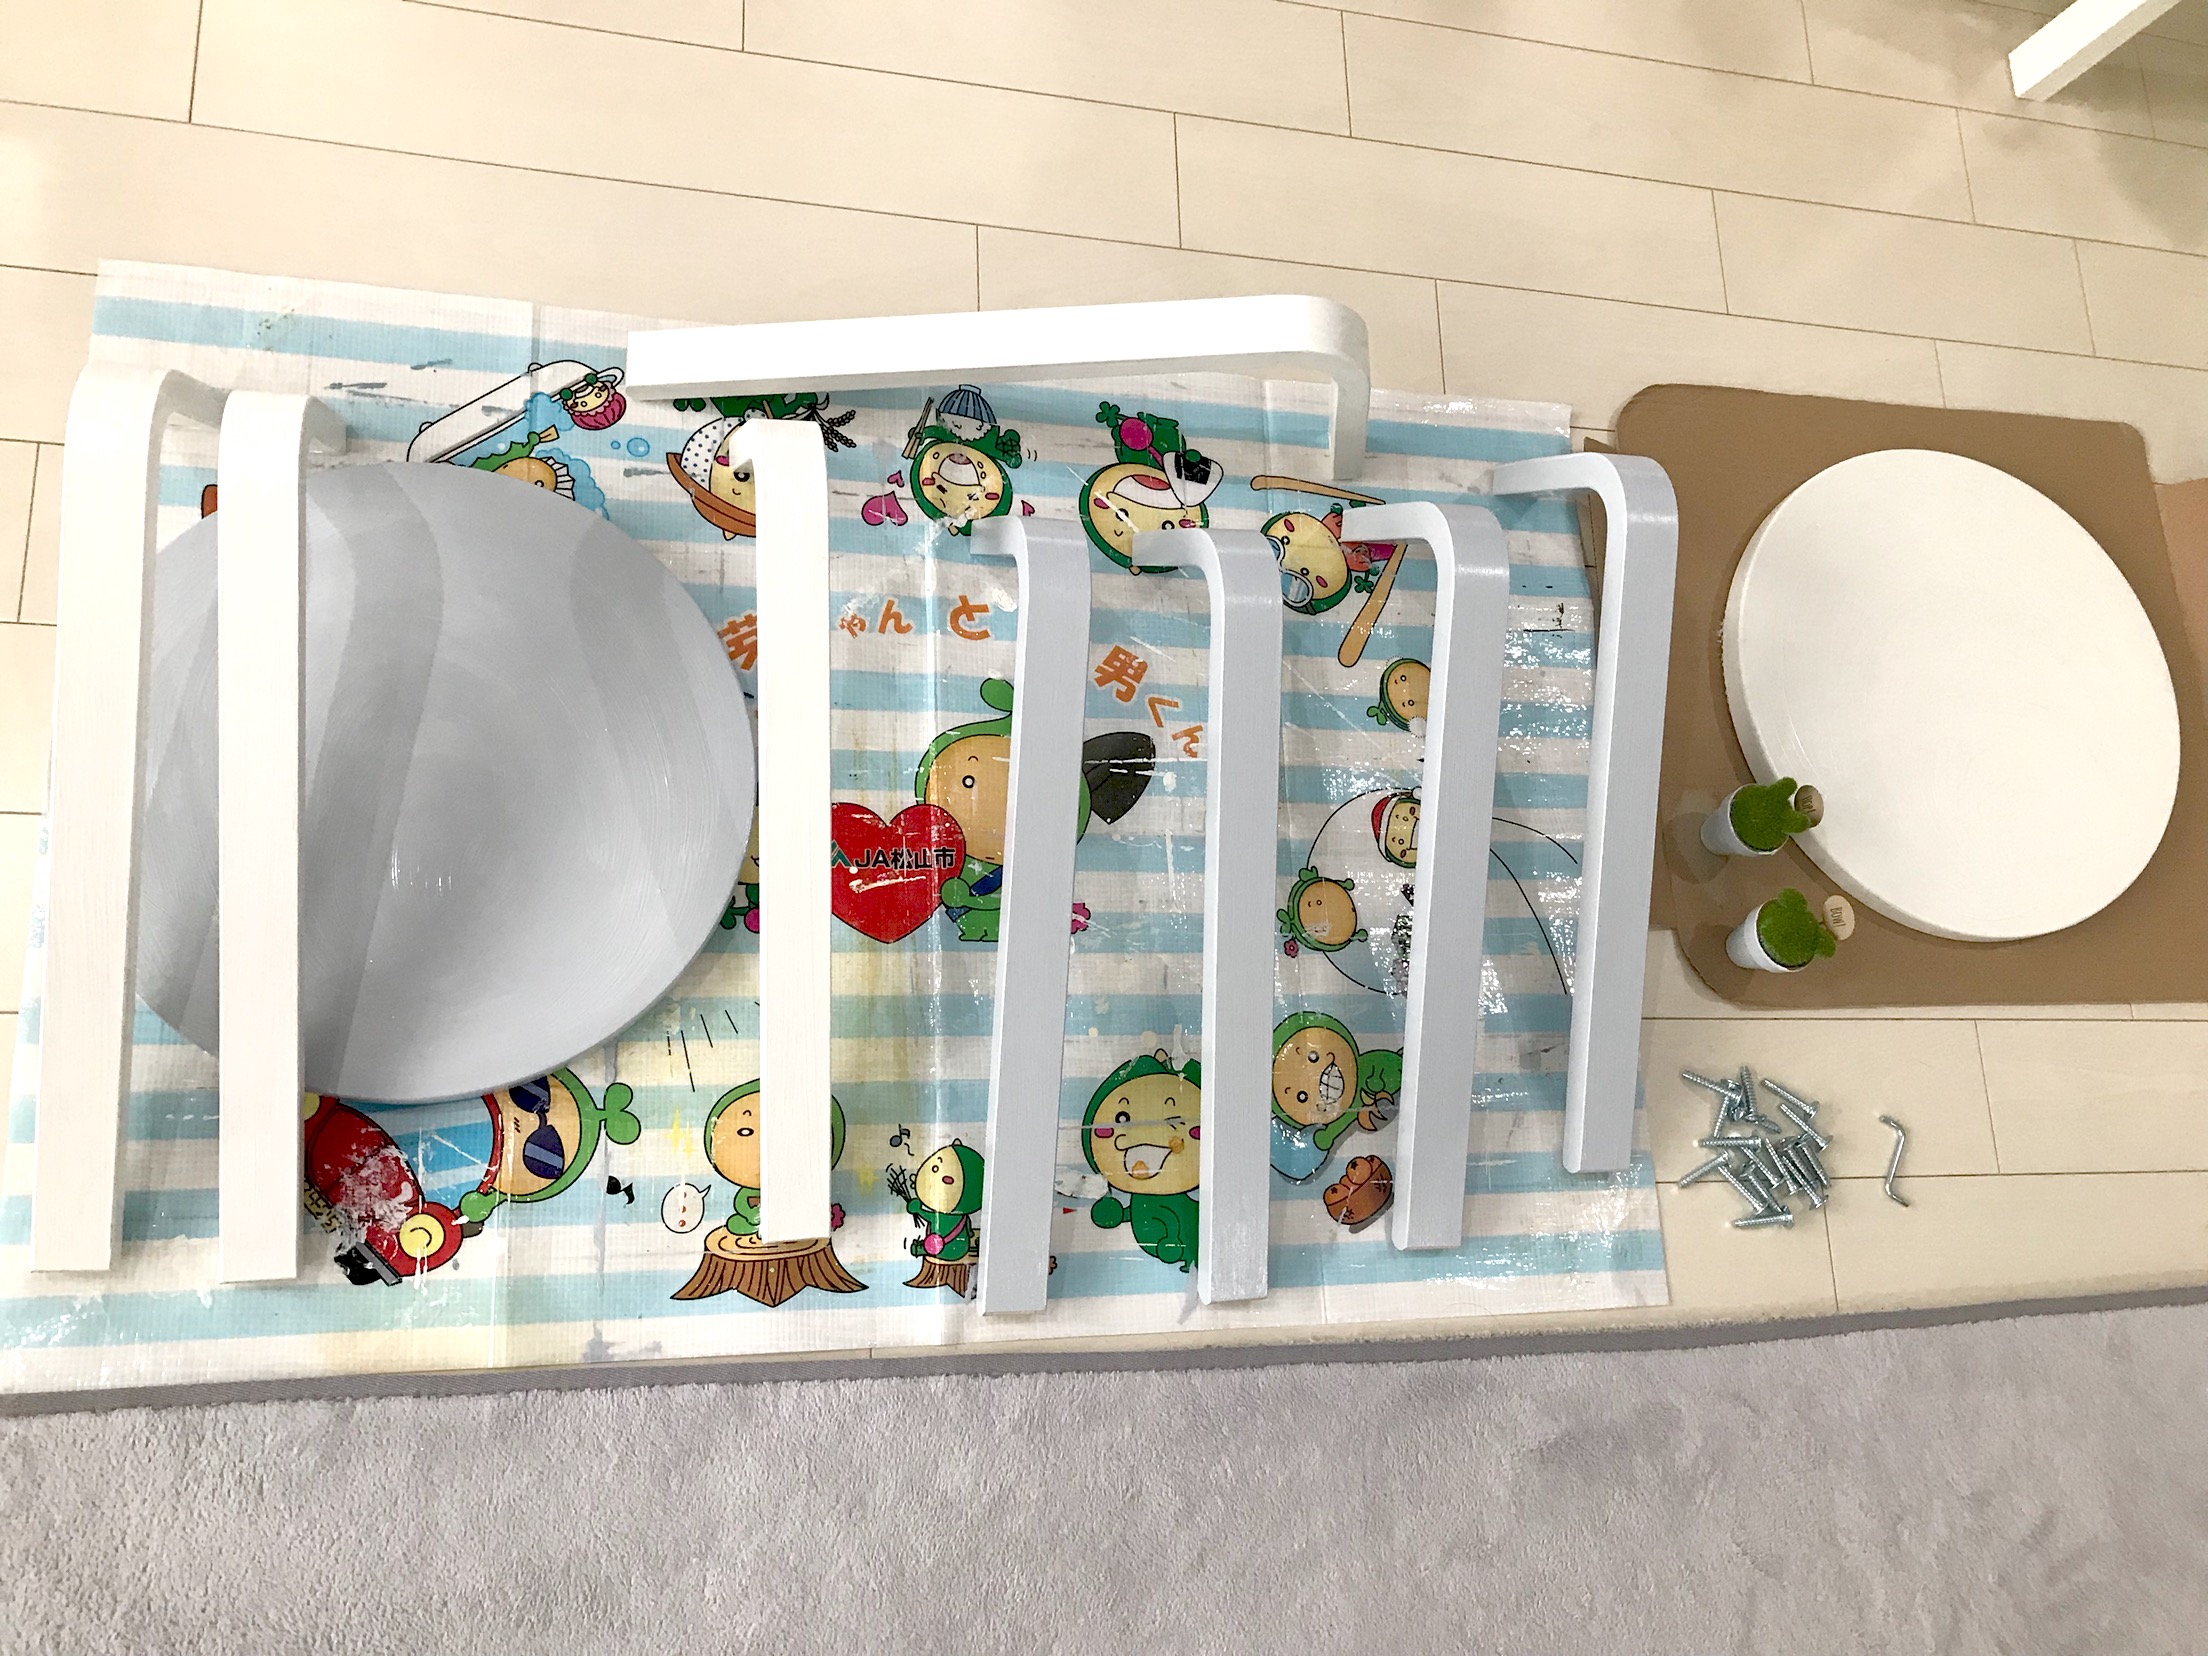
step2
IKEAのスツールを組み立て前にペイントします。
ハケ跡が目立たないようにスポンジハケで塗りました。
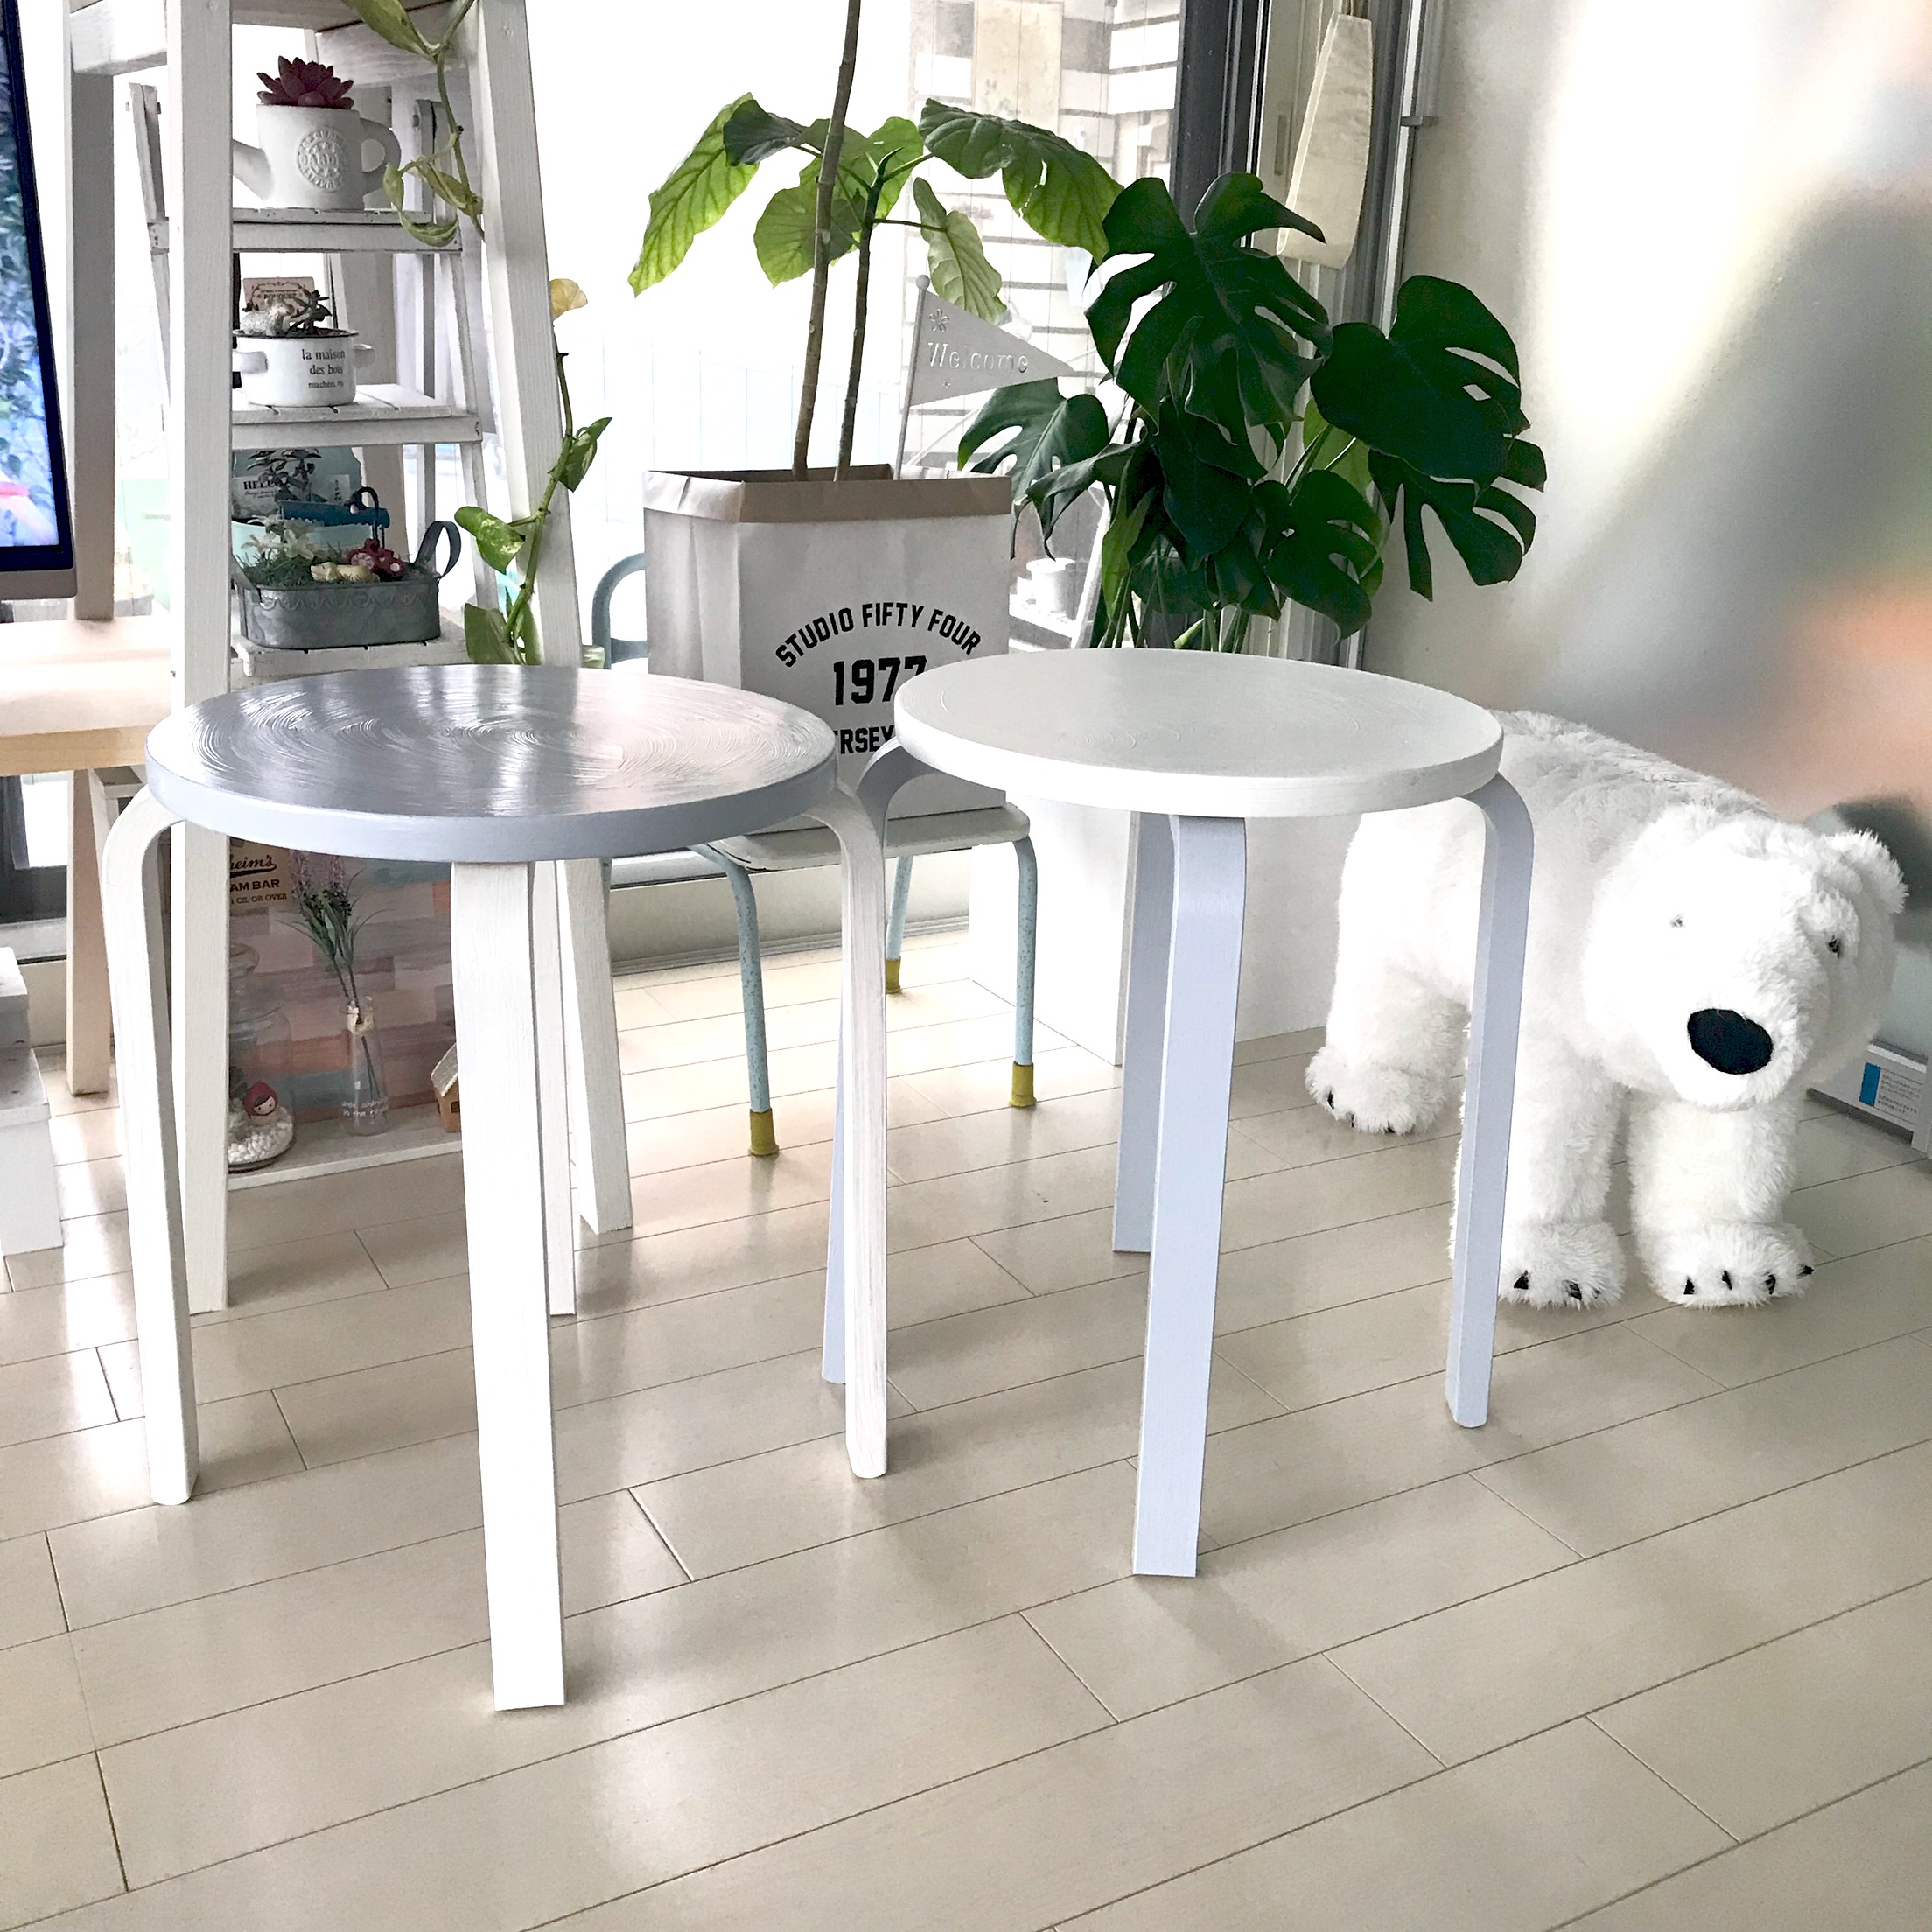
step3
座面と脚を別の色にしてみました。

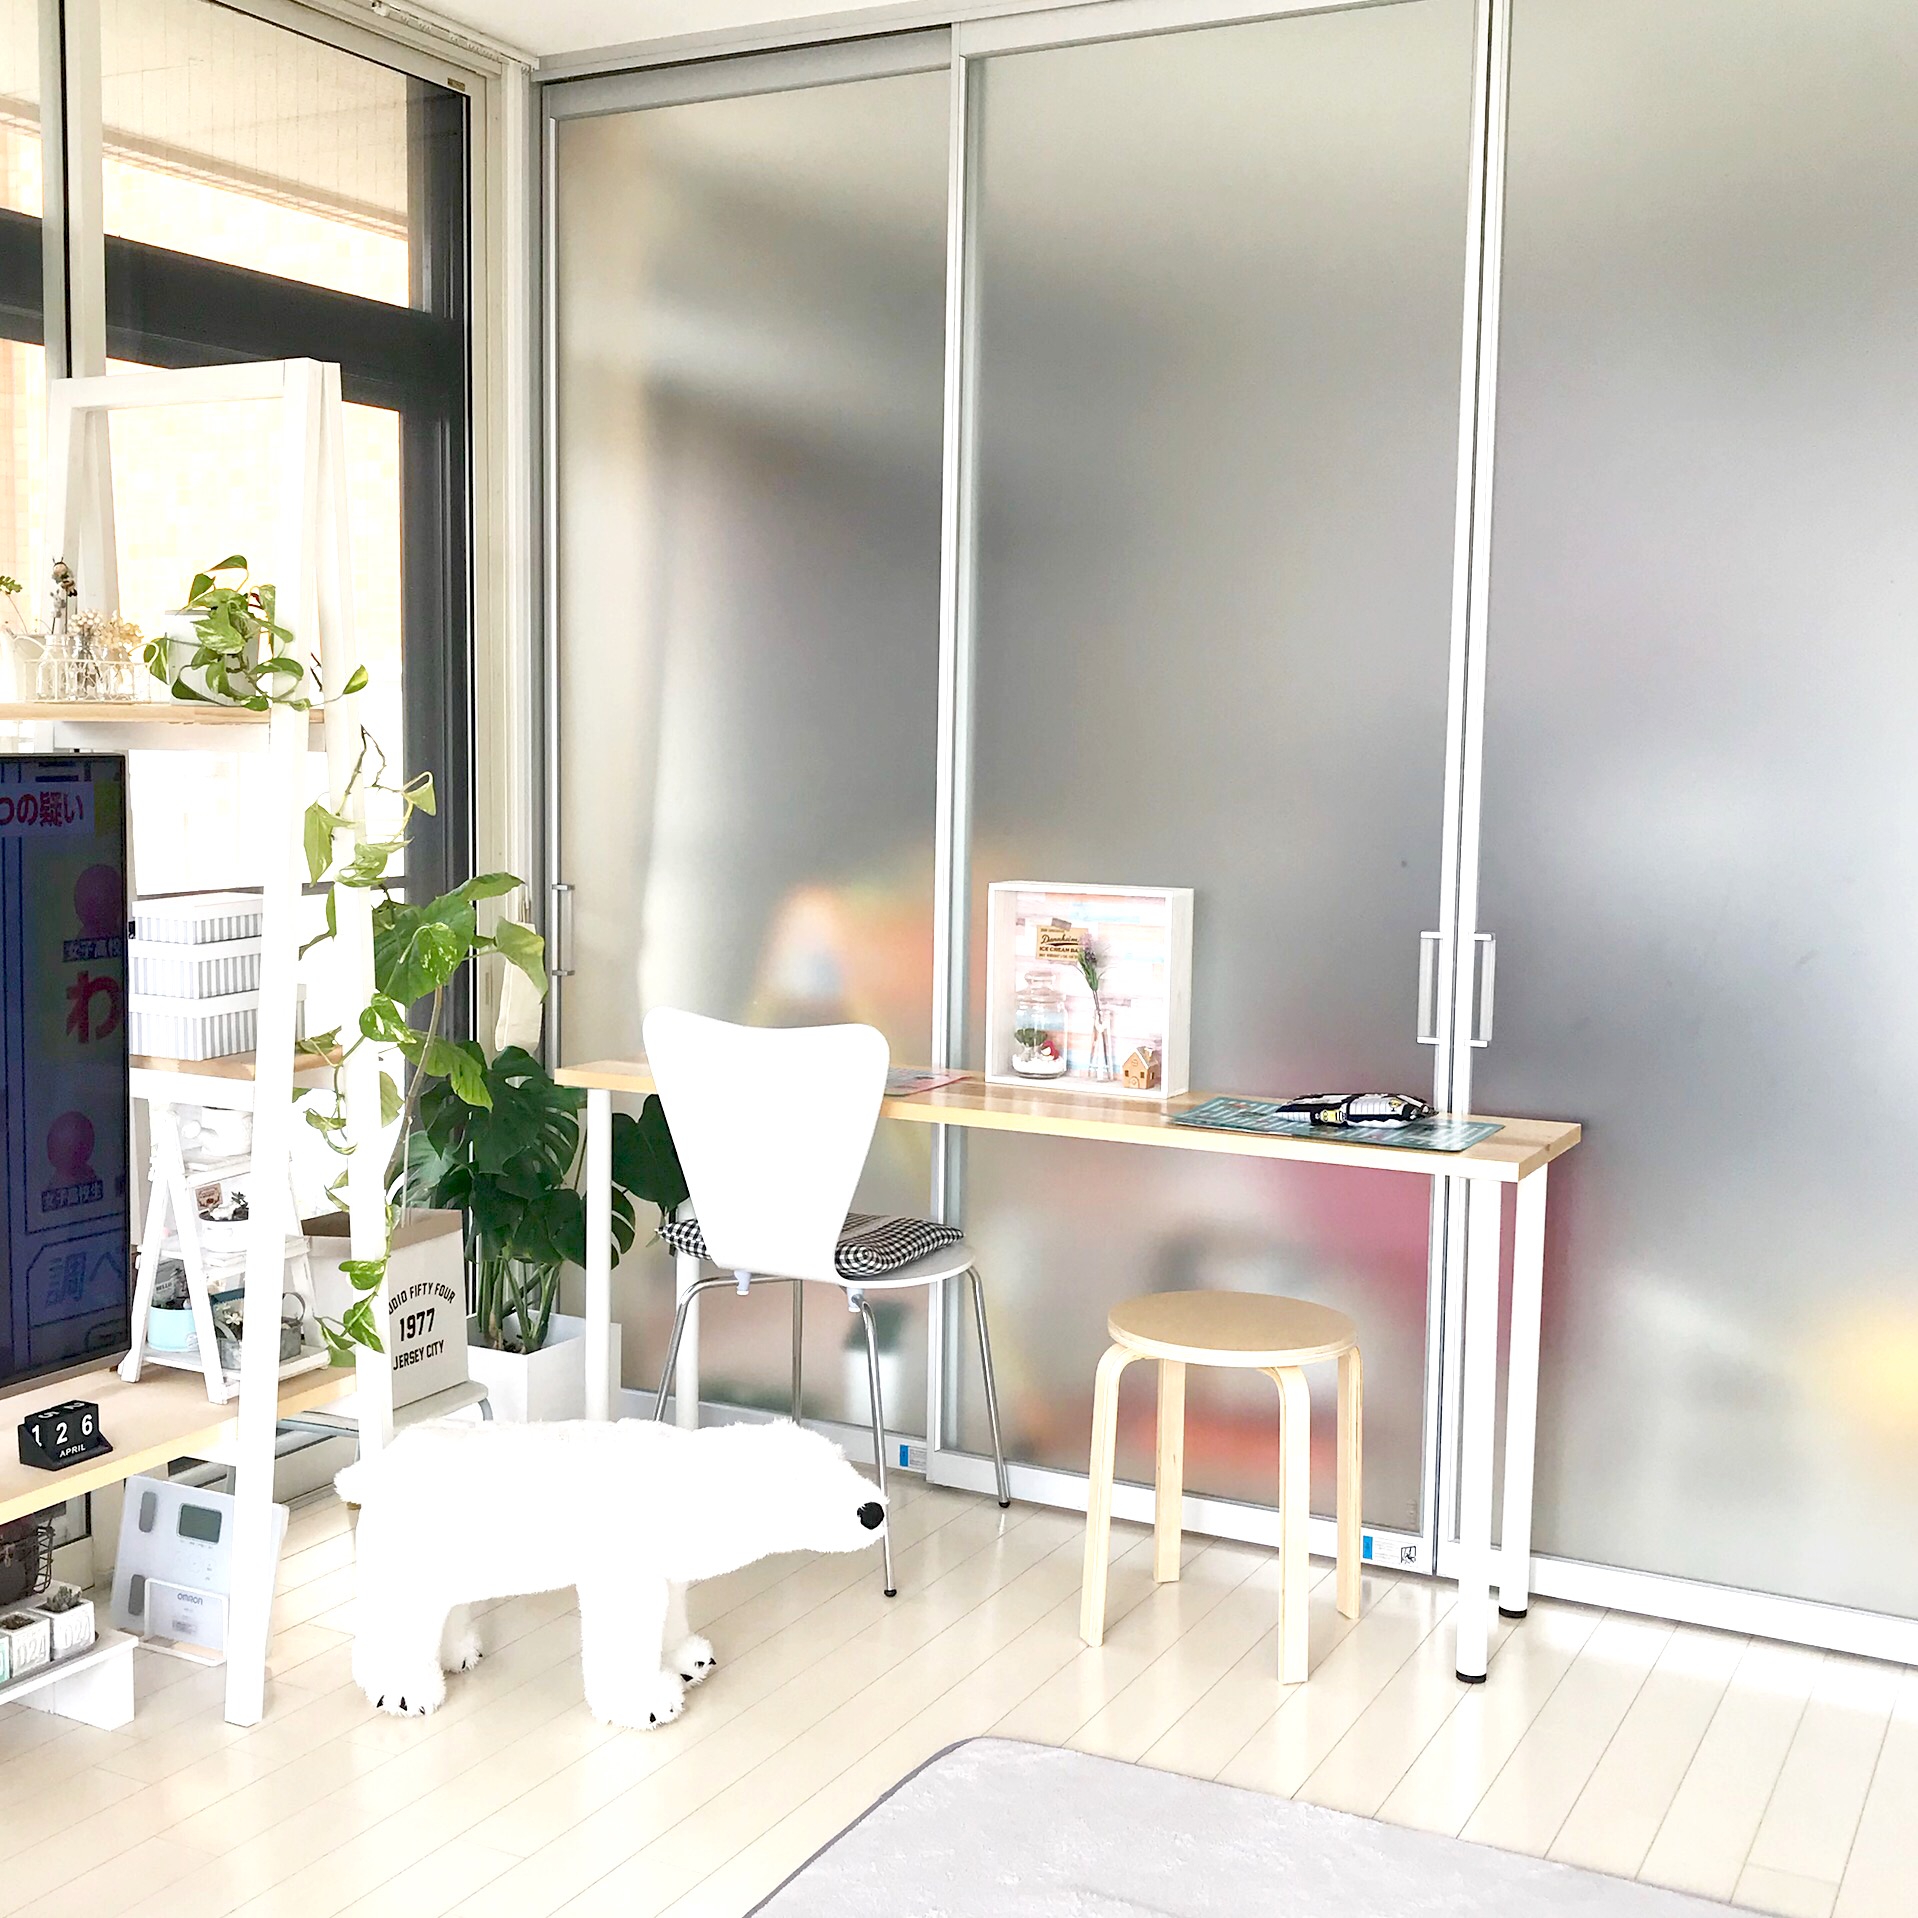
step4
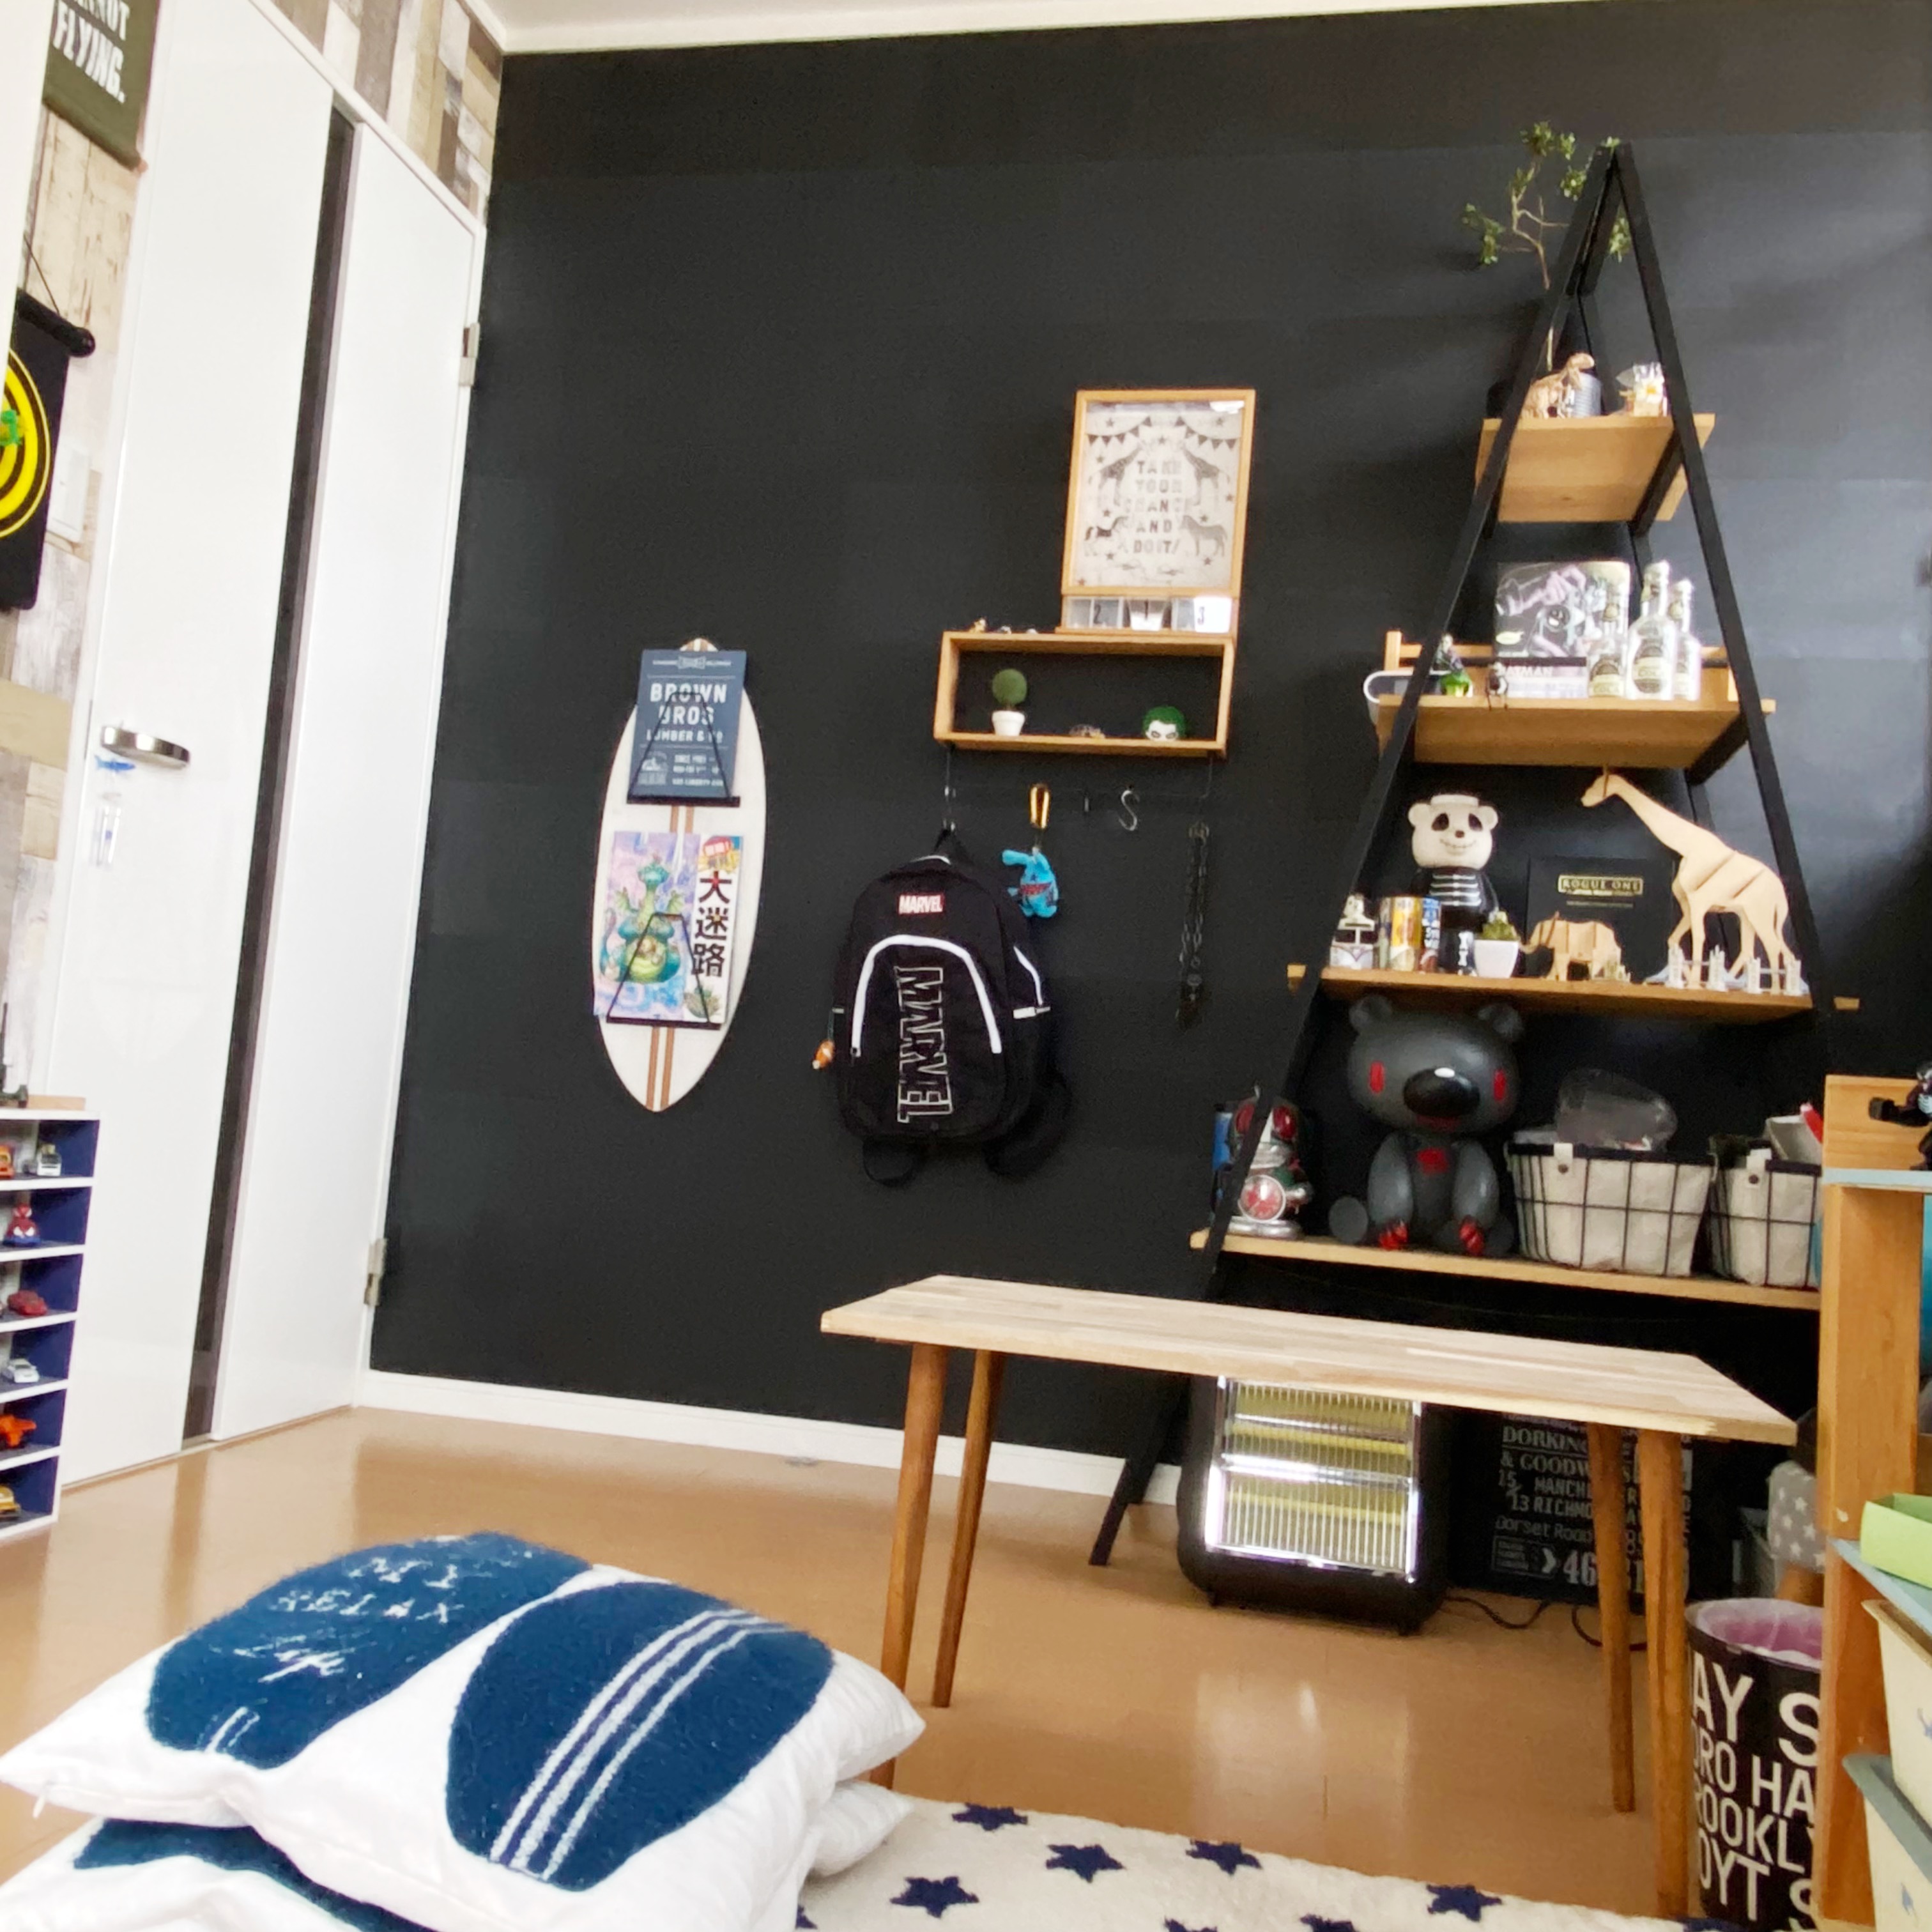
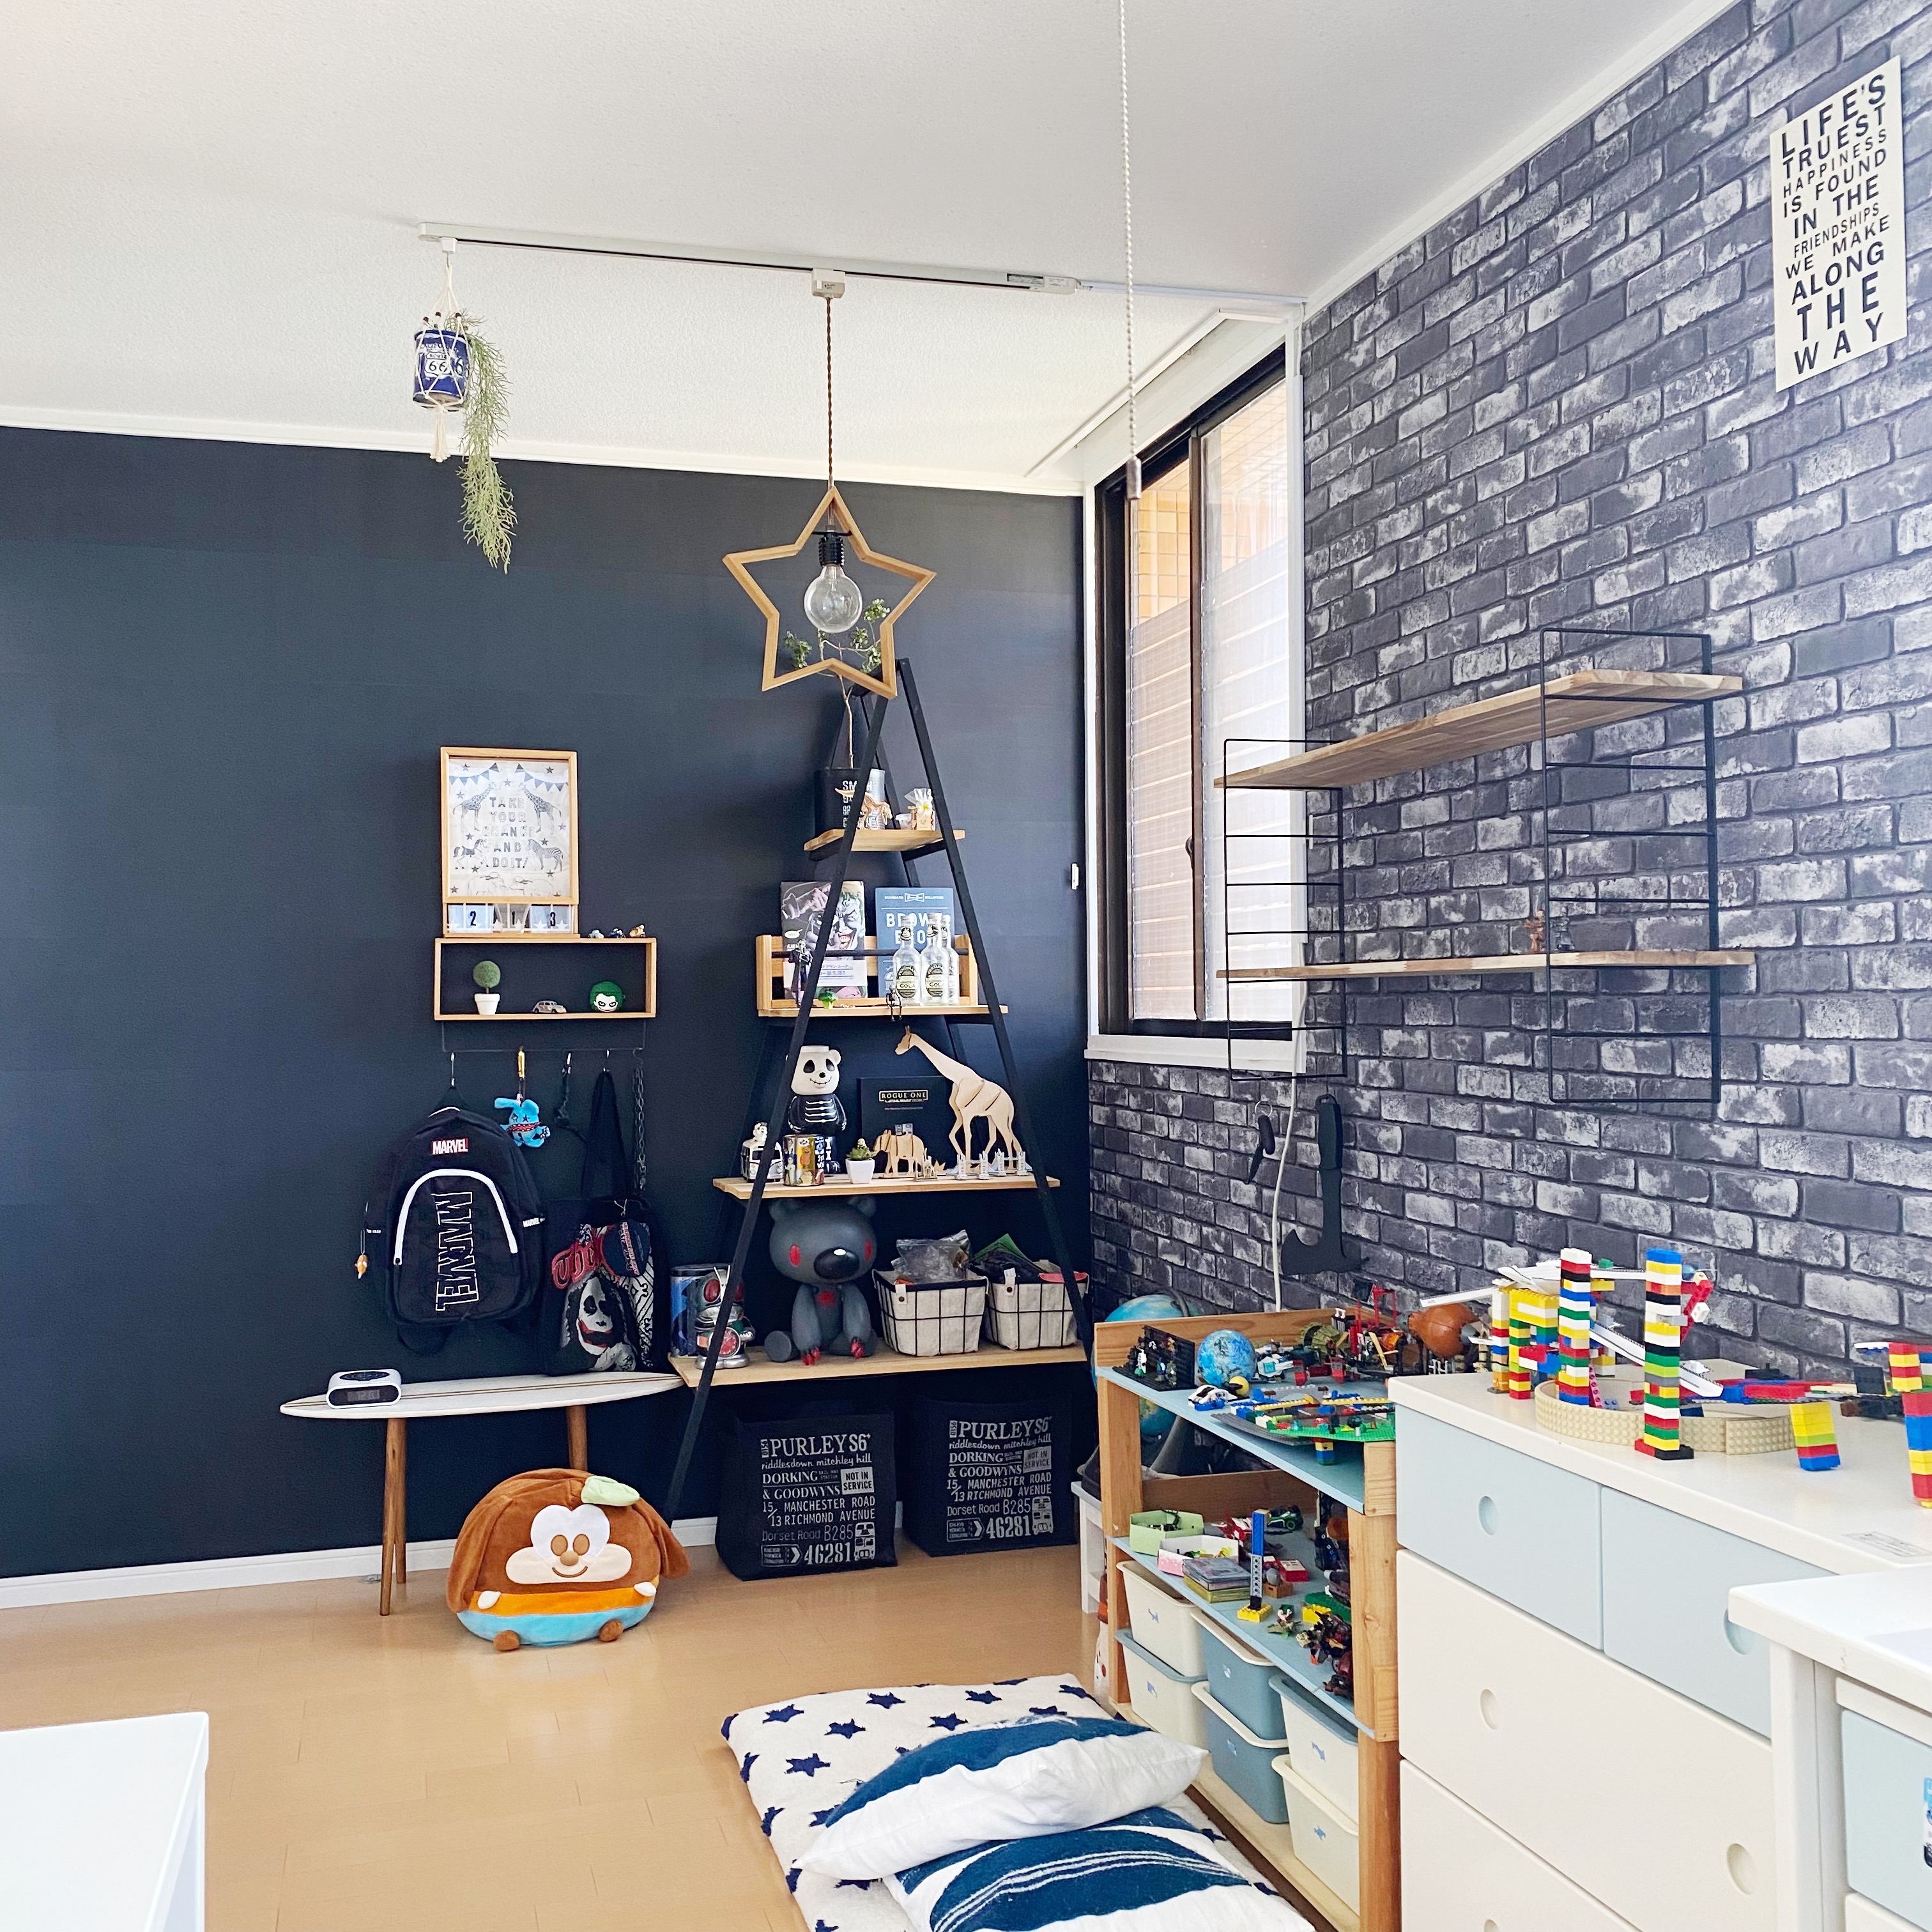
子供2人が並んで勉強出来る机になりました◎
スツールはダイニングで使っています◎
勉強用の椅子は、以前、ペイントリメイクしてレシピを投稿した学校椅子を使っています。

コツ・ポイント
机に使った板はマルトクさんで購入したものです。ホームセンターだとキレイな無垢板は売られていなかったりするので、集成材を使ってもいいと思います。
やってみた感想
今回使ったスツールは1脚1,200円弱。
机の脚は1本250円。
シンプルな机で、移動も楽に出来て、見た目もスッキリ☆お友達からも好評で同じ物を作って♪とお願いされました♪
簡単な造りなので、不要になった時も解体→リメイクしやすいと思います☆

このレシピのキーワード
いいね
2
お気に入り
0
このレシピをシェア
ログインしてコメントする
このレシピを投稿したユーザー
投稿済みレシピ(141)

2022年03月18日
2022年01月31日
2021年12月31日
2021年10月30日
2021年10月17日

