


 レシピを投稿する
トップ > 「棚・ラック」のDIYレシピ > アイアンとウッドの質感が素敵なシンプルシェルフ
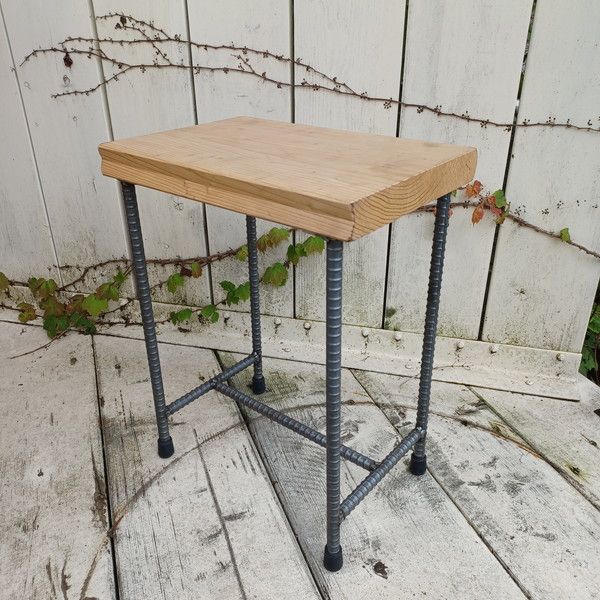
アイアンとウッドの質感が素敵なシンプルシェルフ

SUZUKID公式
2020年09月11日

10mmの鉄筋を溶接してつくる 2段シェルフです。溶接 DIYとしては中級編になりますが、
どんな空間にも合う シンプルなシェルフ です 。 ぜひチャレンジしてみてください。
かかった費用: 7,000円
所要時間: 3時間
いいね
6
お気に入り
1
このレシピをシェア


材料
棚板 (お好きな木材で)1×6サイズ 4枚
10mm鉄筋( 500mm ) 4本
10mm鉄筋( 290mm ) 6本
サイドプレート(鉄製のフラットバー 厚さ2.3mm × 長さ280mm) 4枚
サイドプレート用ネジ 8本
ゴムキャップ 4個
棚板の端材(幅20~30㎜程度)※治具用 1個
スペーサー(鉄製のフラットバー 厚さ2.3mm × 長さ200mm) 1枚
10mm鉄筋( 500mm ) 4本
10mm鉄筋( 290mm ) 6本
サイドプレート(鉄製のフラットバー 厚さ2.3mm × 長さ280mm) 4枚
サイドプレート用ネジ 8本
ゴムキャップ 4個
棚板の端材(幅20~30㎜程度)※治具用 1個
スペーサー(鉄製のフラットバー 厚さ2.3mm × 長さ200mm) 1枚
工具
半自動溶接機
ヤスリ・ワイヤーブラシ
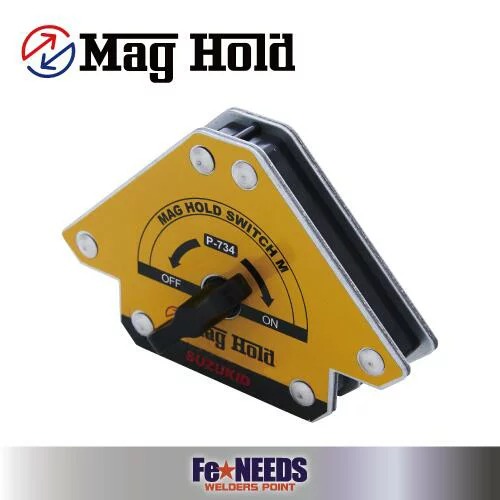
マグホールド
ヤスリ・ワイヤーブラシ
マグホールド
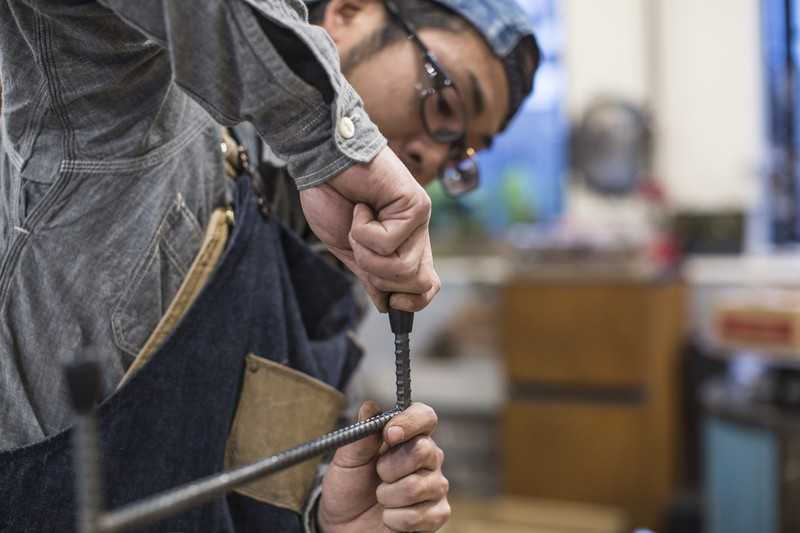
step1
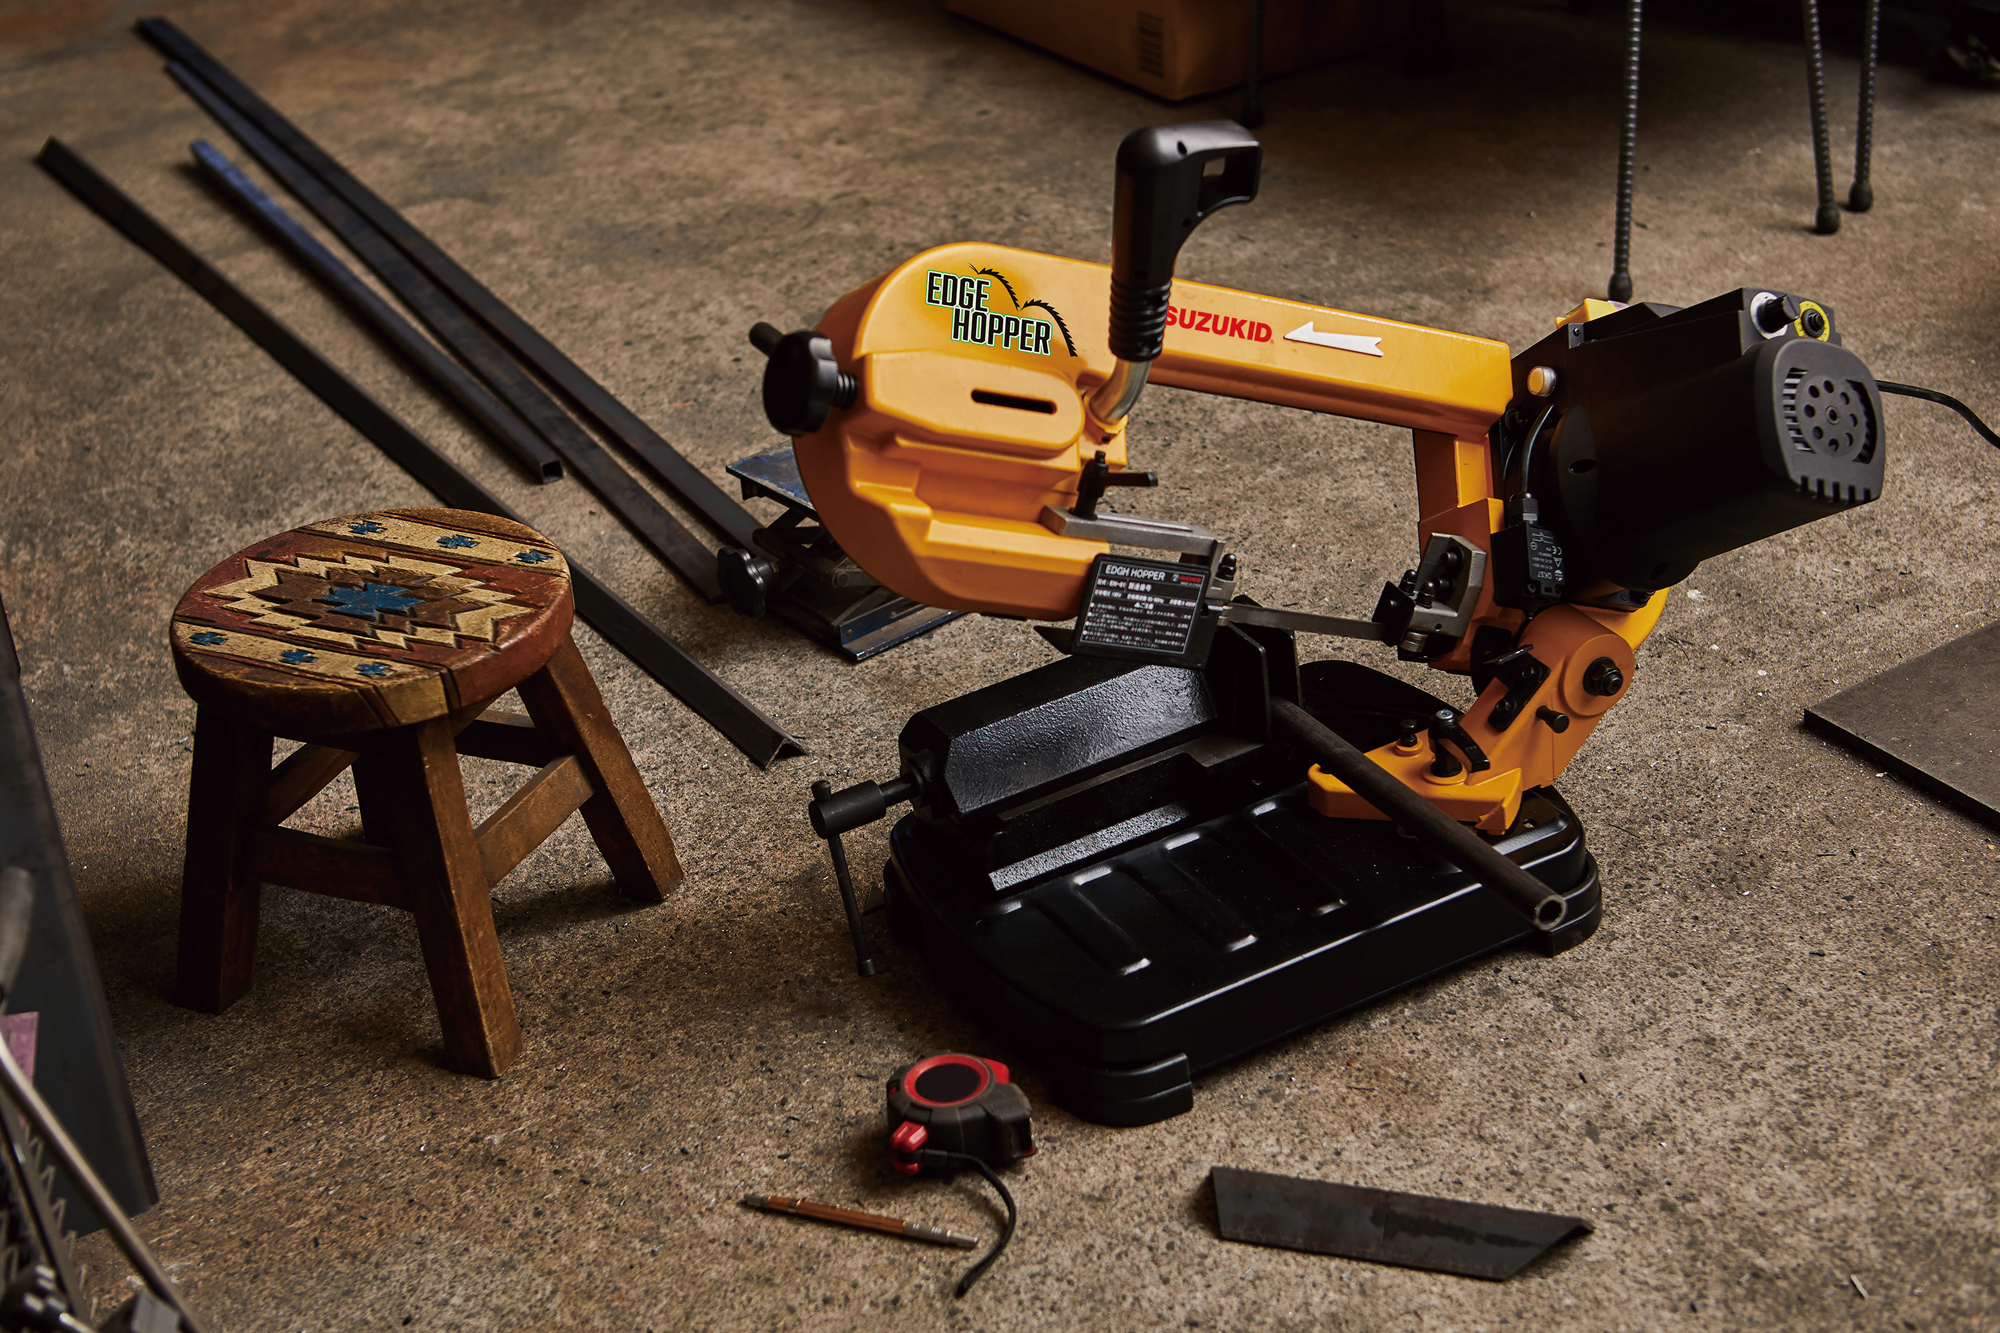
まずは材料の加工からスタート。材料となる鉄筋をバンドソーなどでカットしていきます。
※棚板の端材(治具)は、幅20~30㎜程度にカットしておきます。

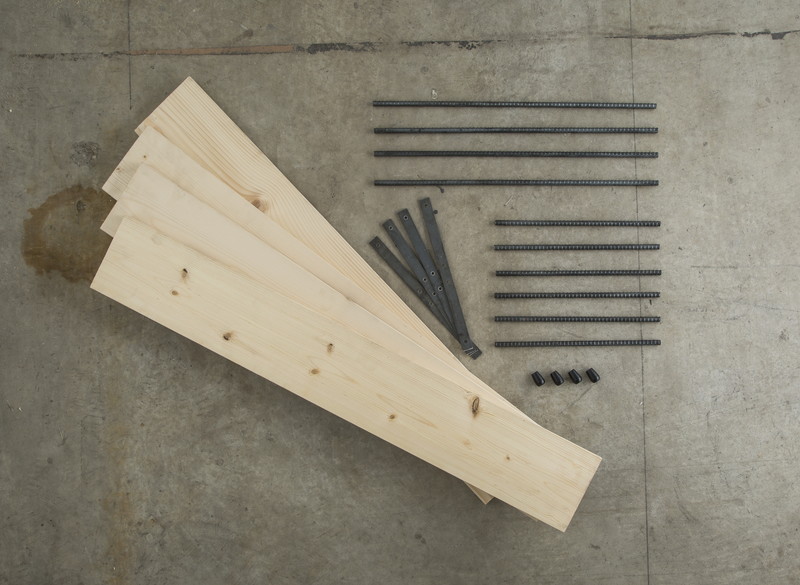
step2
こちらが棚板、鉄筋、サイドプレートなどの材料です。
※サイドプレートは棚板の厚みに合う鉄のフラットバーを280mmでカットし、木に止めるための穴を4つずつ空けておきます。
※スペーサーは.サイドプレートと同じ材料を長さ200mmにカットした物です。
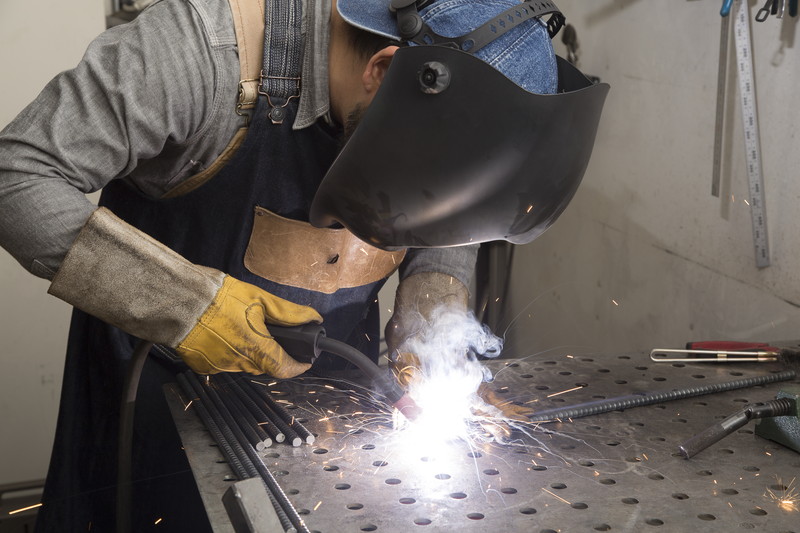
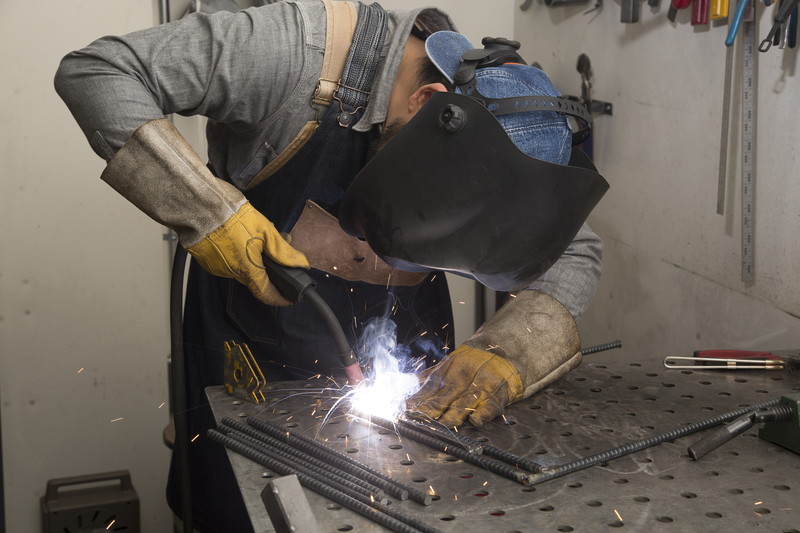
step3
いよいよ溶接へ。まずは上段部分から作っていきます。 500mm と 290mm の鉄筋を直角に 位置決めして 、マグホールドで仮固定します 。

step4
鉄筋の両面を点溶接(仮止め)します。溶接前には、スパッタ付着防止剤をスプレーしておきましょう。
step5
反対側にも500mm の鉄筋を同じように直角に溶接します(コの字型に溶接します)。
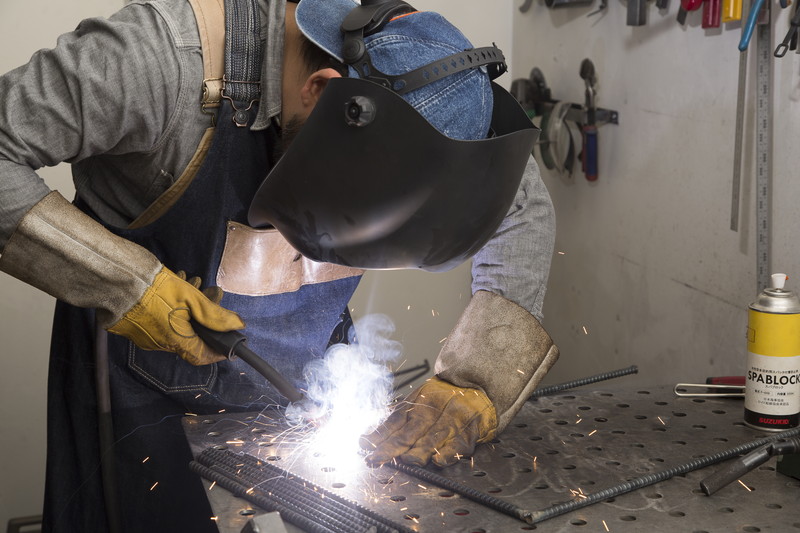
step6
次に上段の棚板を差し込むための2本目の鉄筋を溶接します。1 本目の鉄筋 に、STEP1で作った棚板の端材(治具)とスペーサーを密着させ、「棚板厚 2.3 mm 」の隙間を空けて鉄筋を溶接します。
step7
下段の棚板を乗せる鉄筋を溶接します。お好きな位置でかまいません。今回は下から50mmの位置に溶接しました。

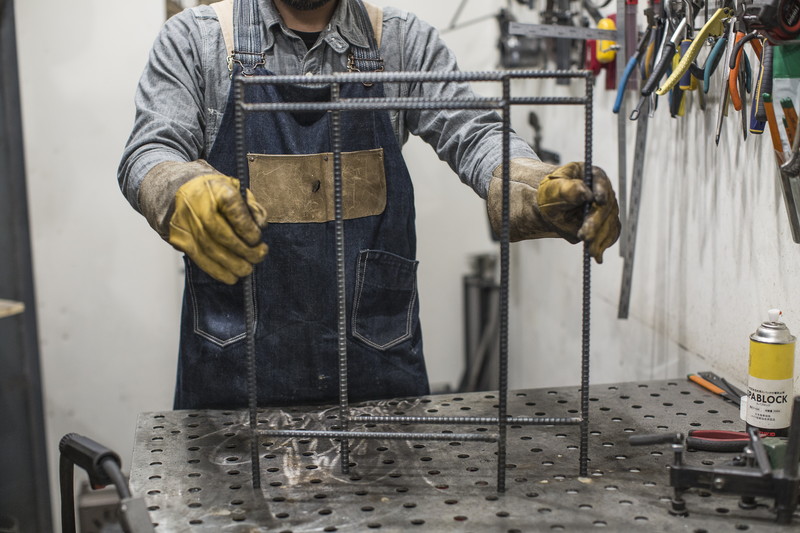
step8
もう一度、位置や角度を確認して本溶接すると、鉄筋のフレームの完成です。
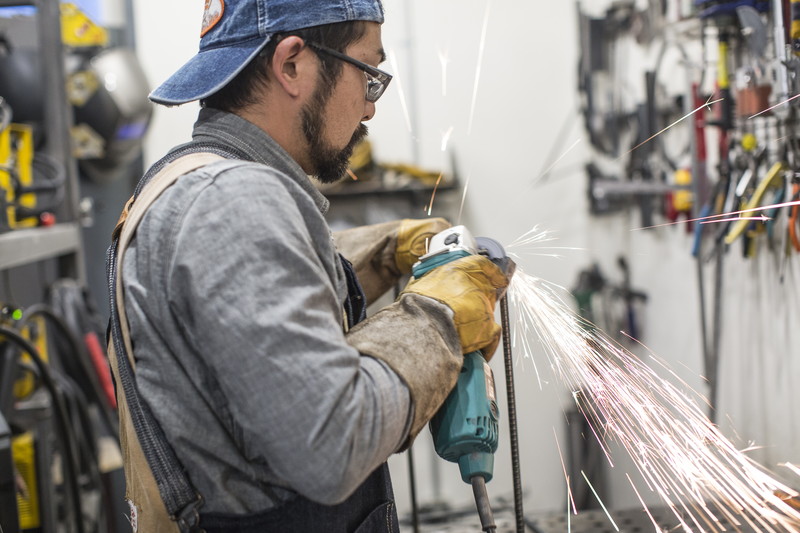
step9
溶接後は、溶接部分についたスパッタ(金属の粒)やスラグ(溶接カス)などを、ヤスリやワイヤーブラシで落として磨いておきます。
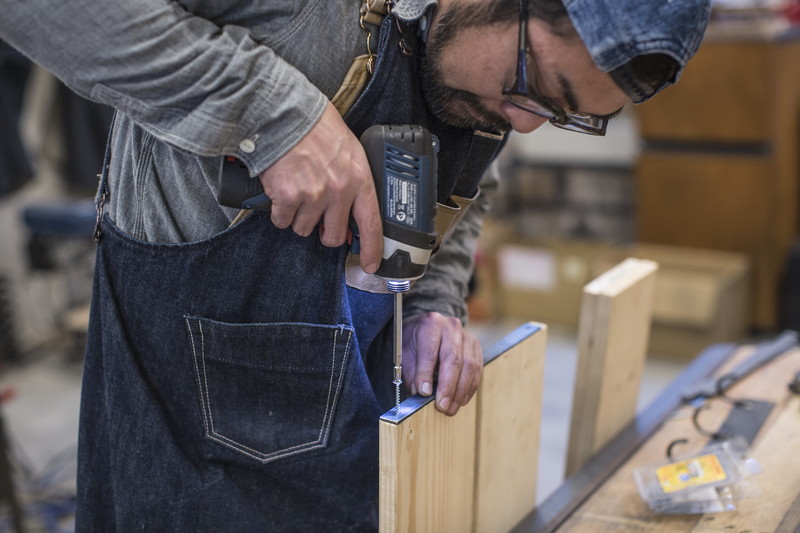
step10
棚板のサイドプレートをビスで固定します。
step11
床が傷つかないように、鉄筋のフレームにゴムキャップを被せます。
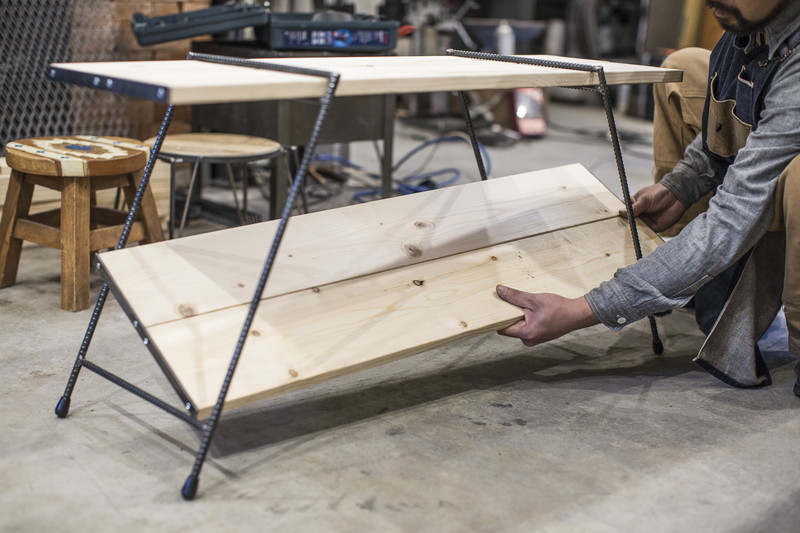
step12
上の棚板を差し込みます。「棚板の厚さ
+2.3mm 」で隙間をつくると、このようにフレームがほどよく傾斜します。

step13
下の棚板を設置します。(乗せるだけです)
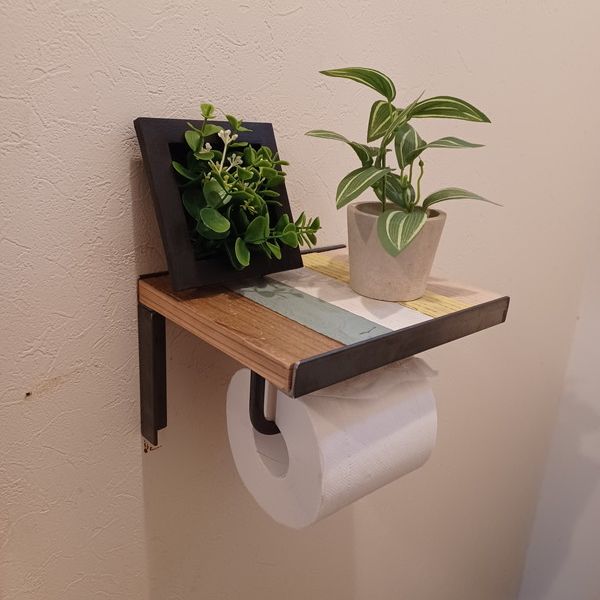
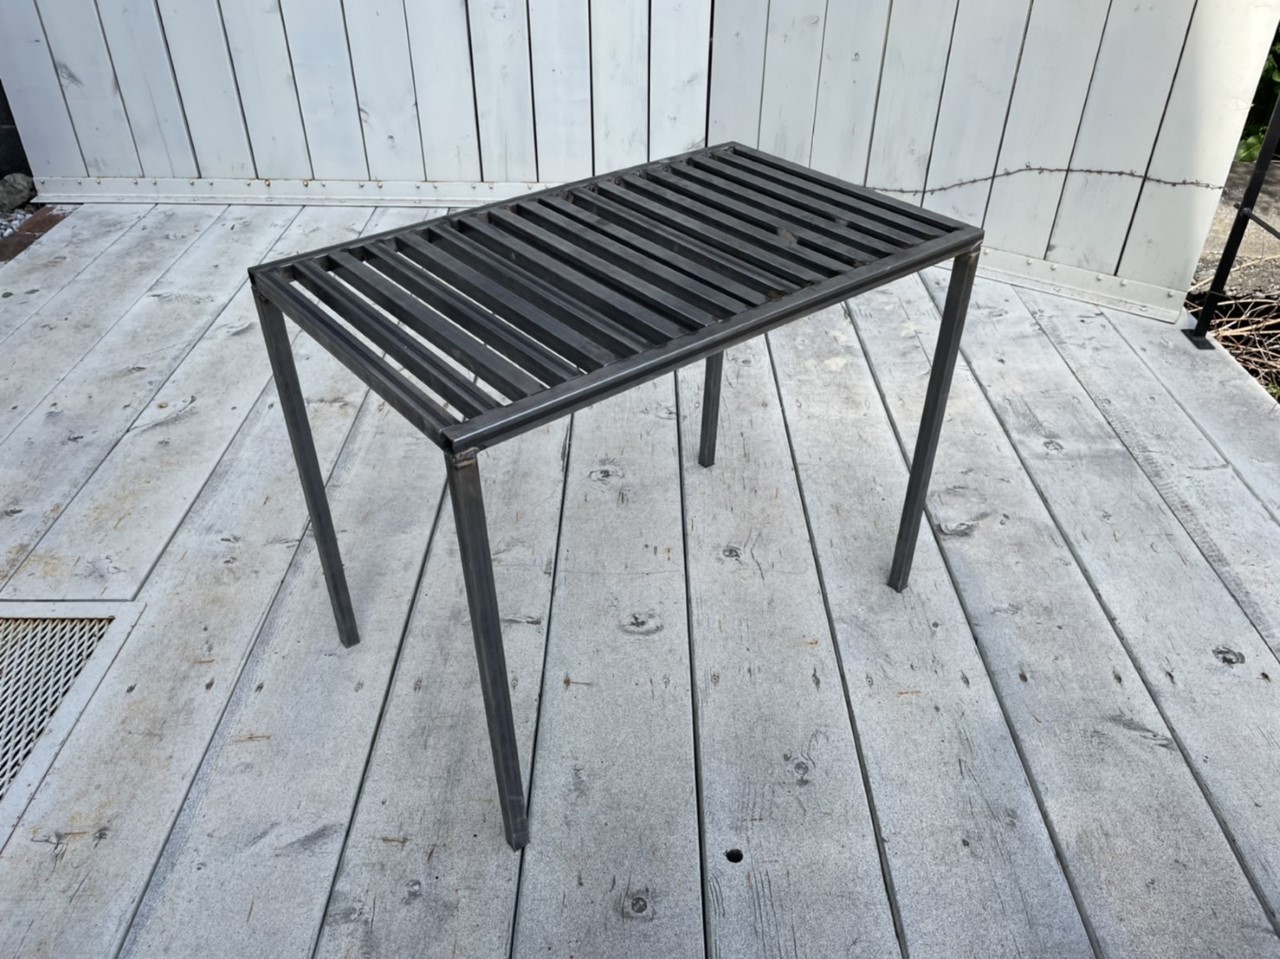
step14
完成です!

コツ・ポイント
鉄筋を直角に保ちながら溶接するため、マグホールドを利用しましょう。
やってみた感想
棚板はお好きな木材で作れます。ラフな感じにしたければ足場板を使ったり、ペイントやワックス を 使って、着色しても楽しいと思います。ぜひ 挑戦してみてください。

このレシピのキーワード
いいね
6
お気に入り
1
このレシピをシェア
ログインしてコメントする
このレシピを投稿したユーザー
投稿済みレシピ(11)
2023年07月10日
2023年06月26日
2022年04月07日
2021年06月02日
2021年04月22日

