


 レシピを投稿する
トップ > 「収納」のDIYレシピ > 賃貸リフォーム。押入れ編*。
賃貸リフォーム。押入れ編*。

moe
2018年11月27日
もうすぐ築40年になるマンションの大家さんしています。
現在1DKのお部屋をリフォーム中。
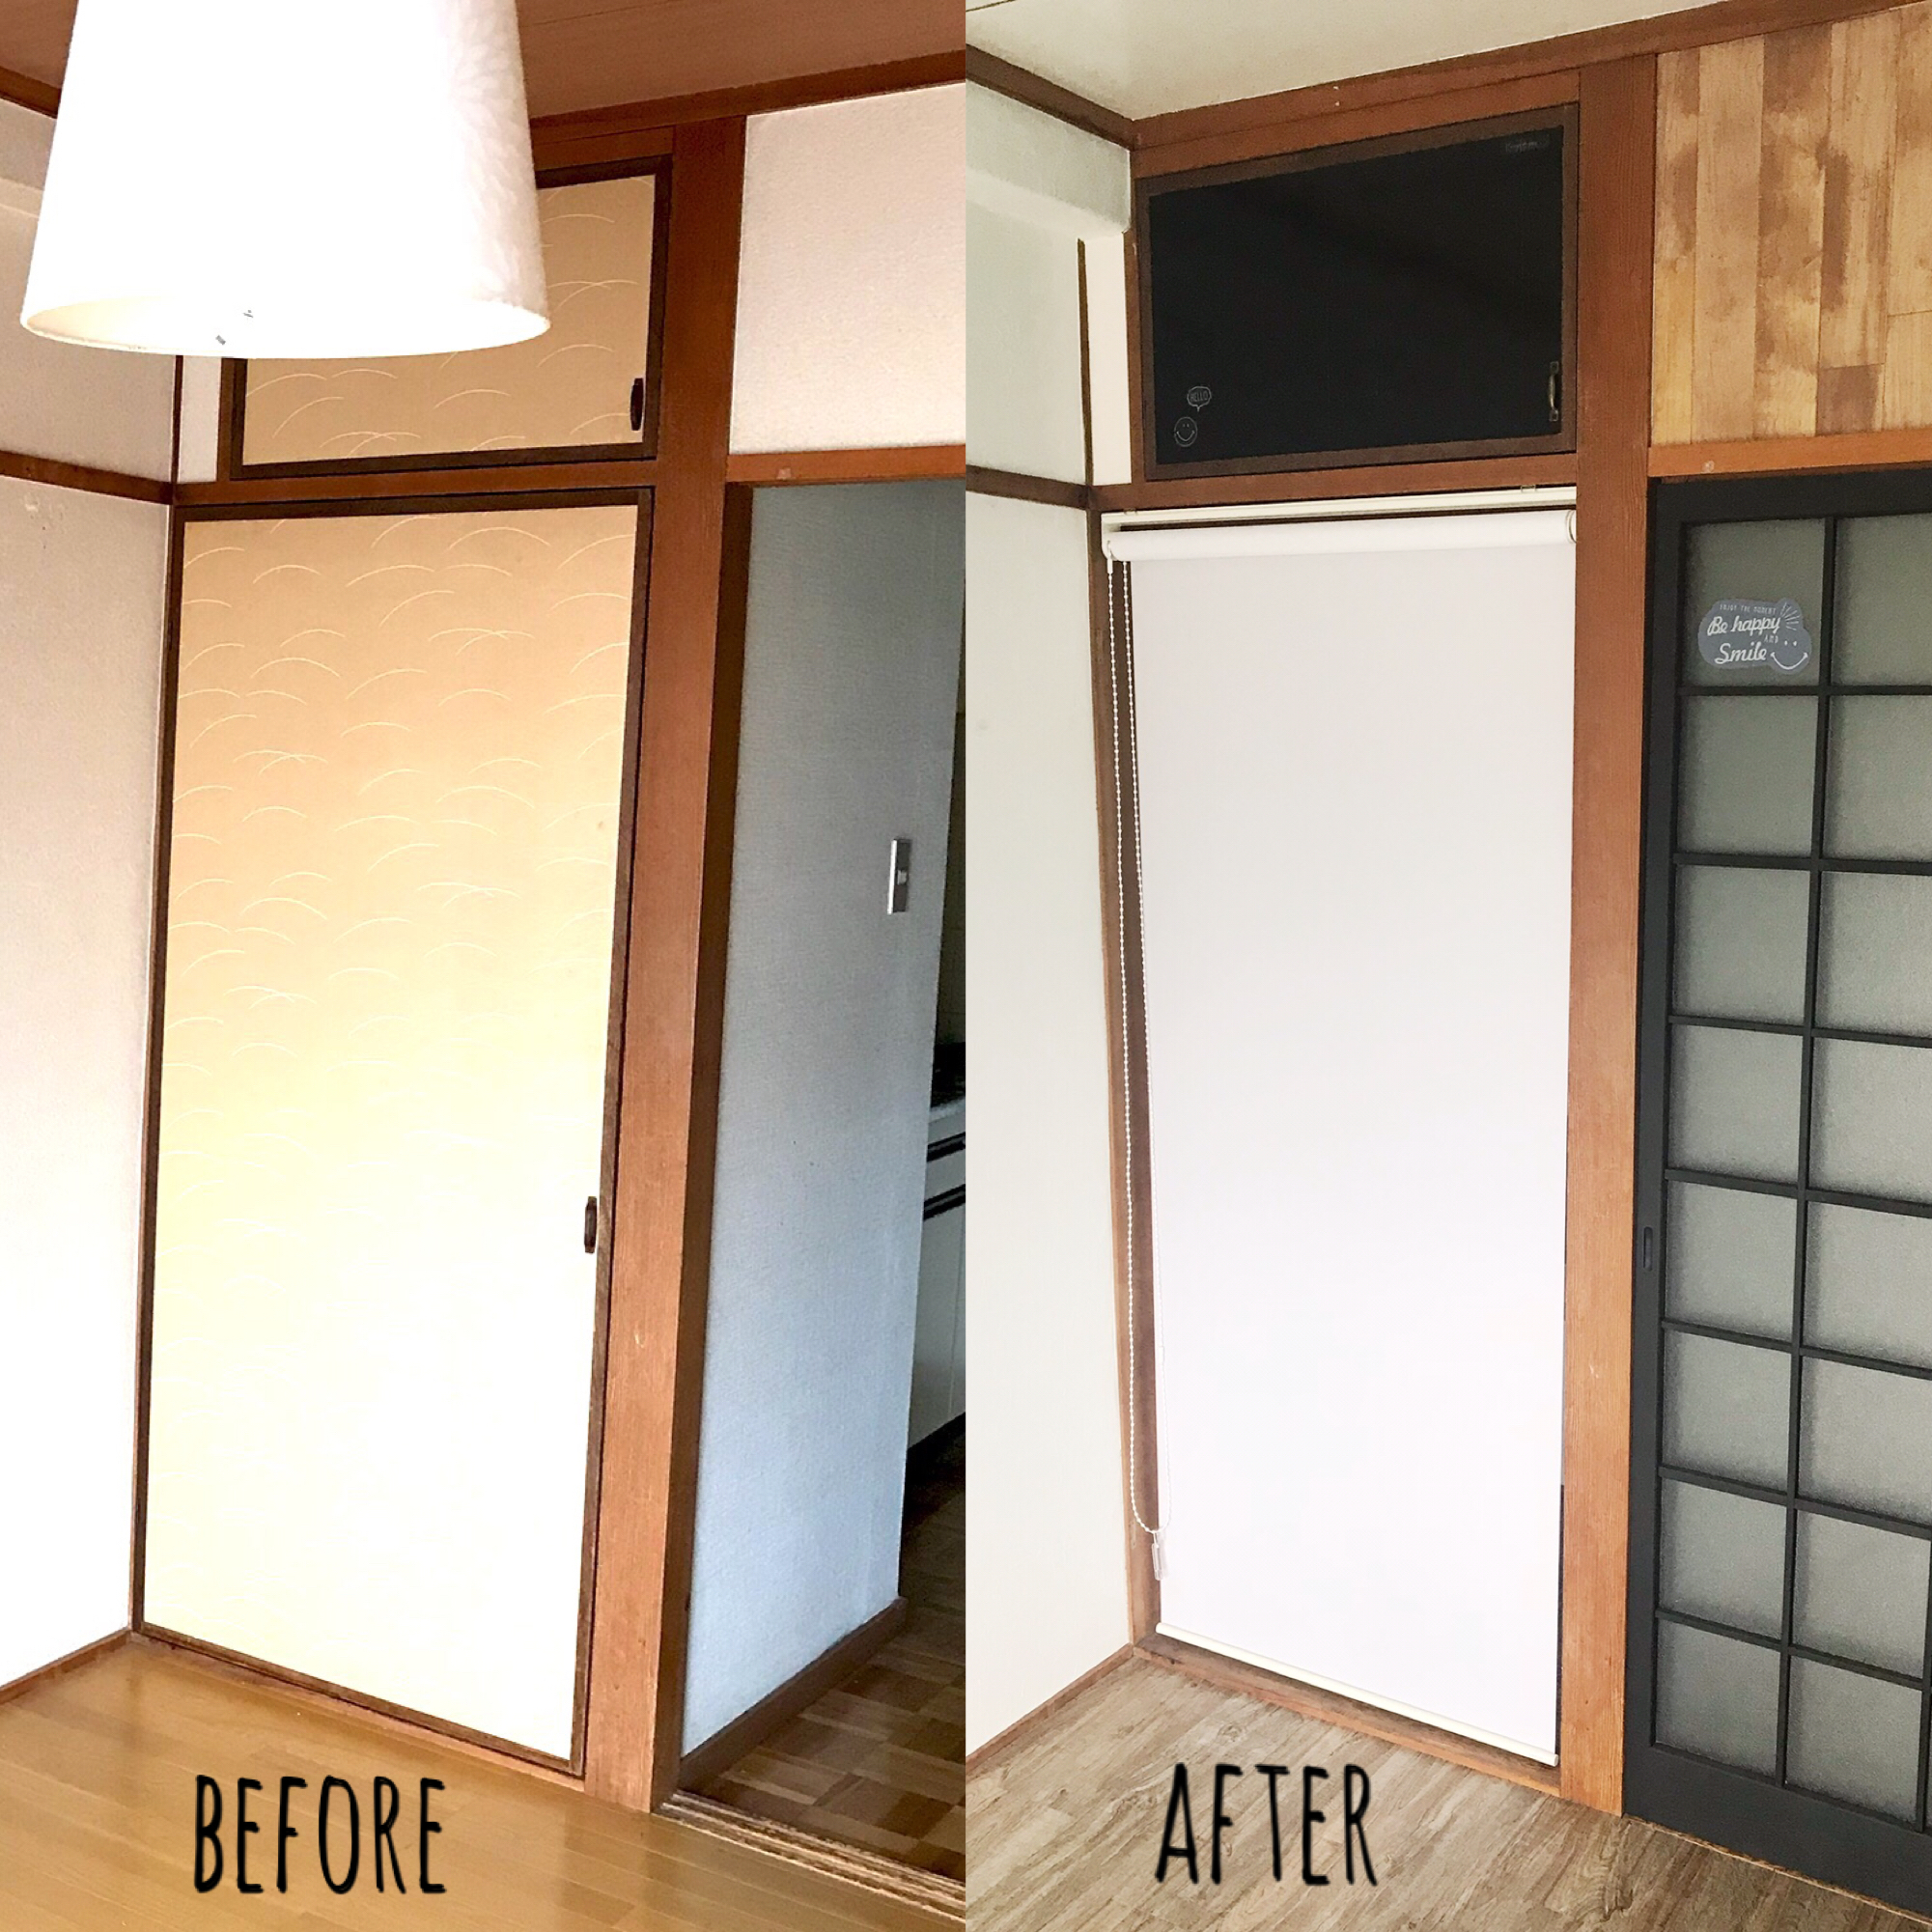
今回は、おそらく…建築当時のままで古い印象だった押入れをDIYしました♪
かかった費用: 10,000円
所要時間: 3時間
いいね
2
お気に入り
1
このレシピをシェア


材料
ロールスクリーン
のり付き壁紙 5m
フロアタイル 10枚程度
セリアのブラックボードシート 2本
取っ手
のり付き壁紙 5m
フロアタイル 10枚程度
セリアのブラックボードシート 2本
取っ手
工具
壁紙施工道具
カッター
電動ドリルドライバー
カッター
電動ドリルドライバー
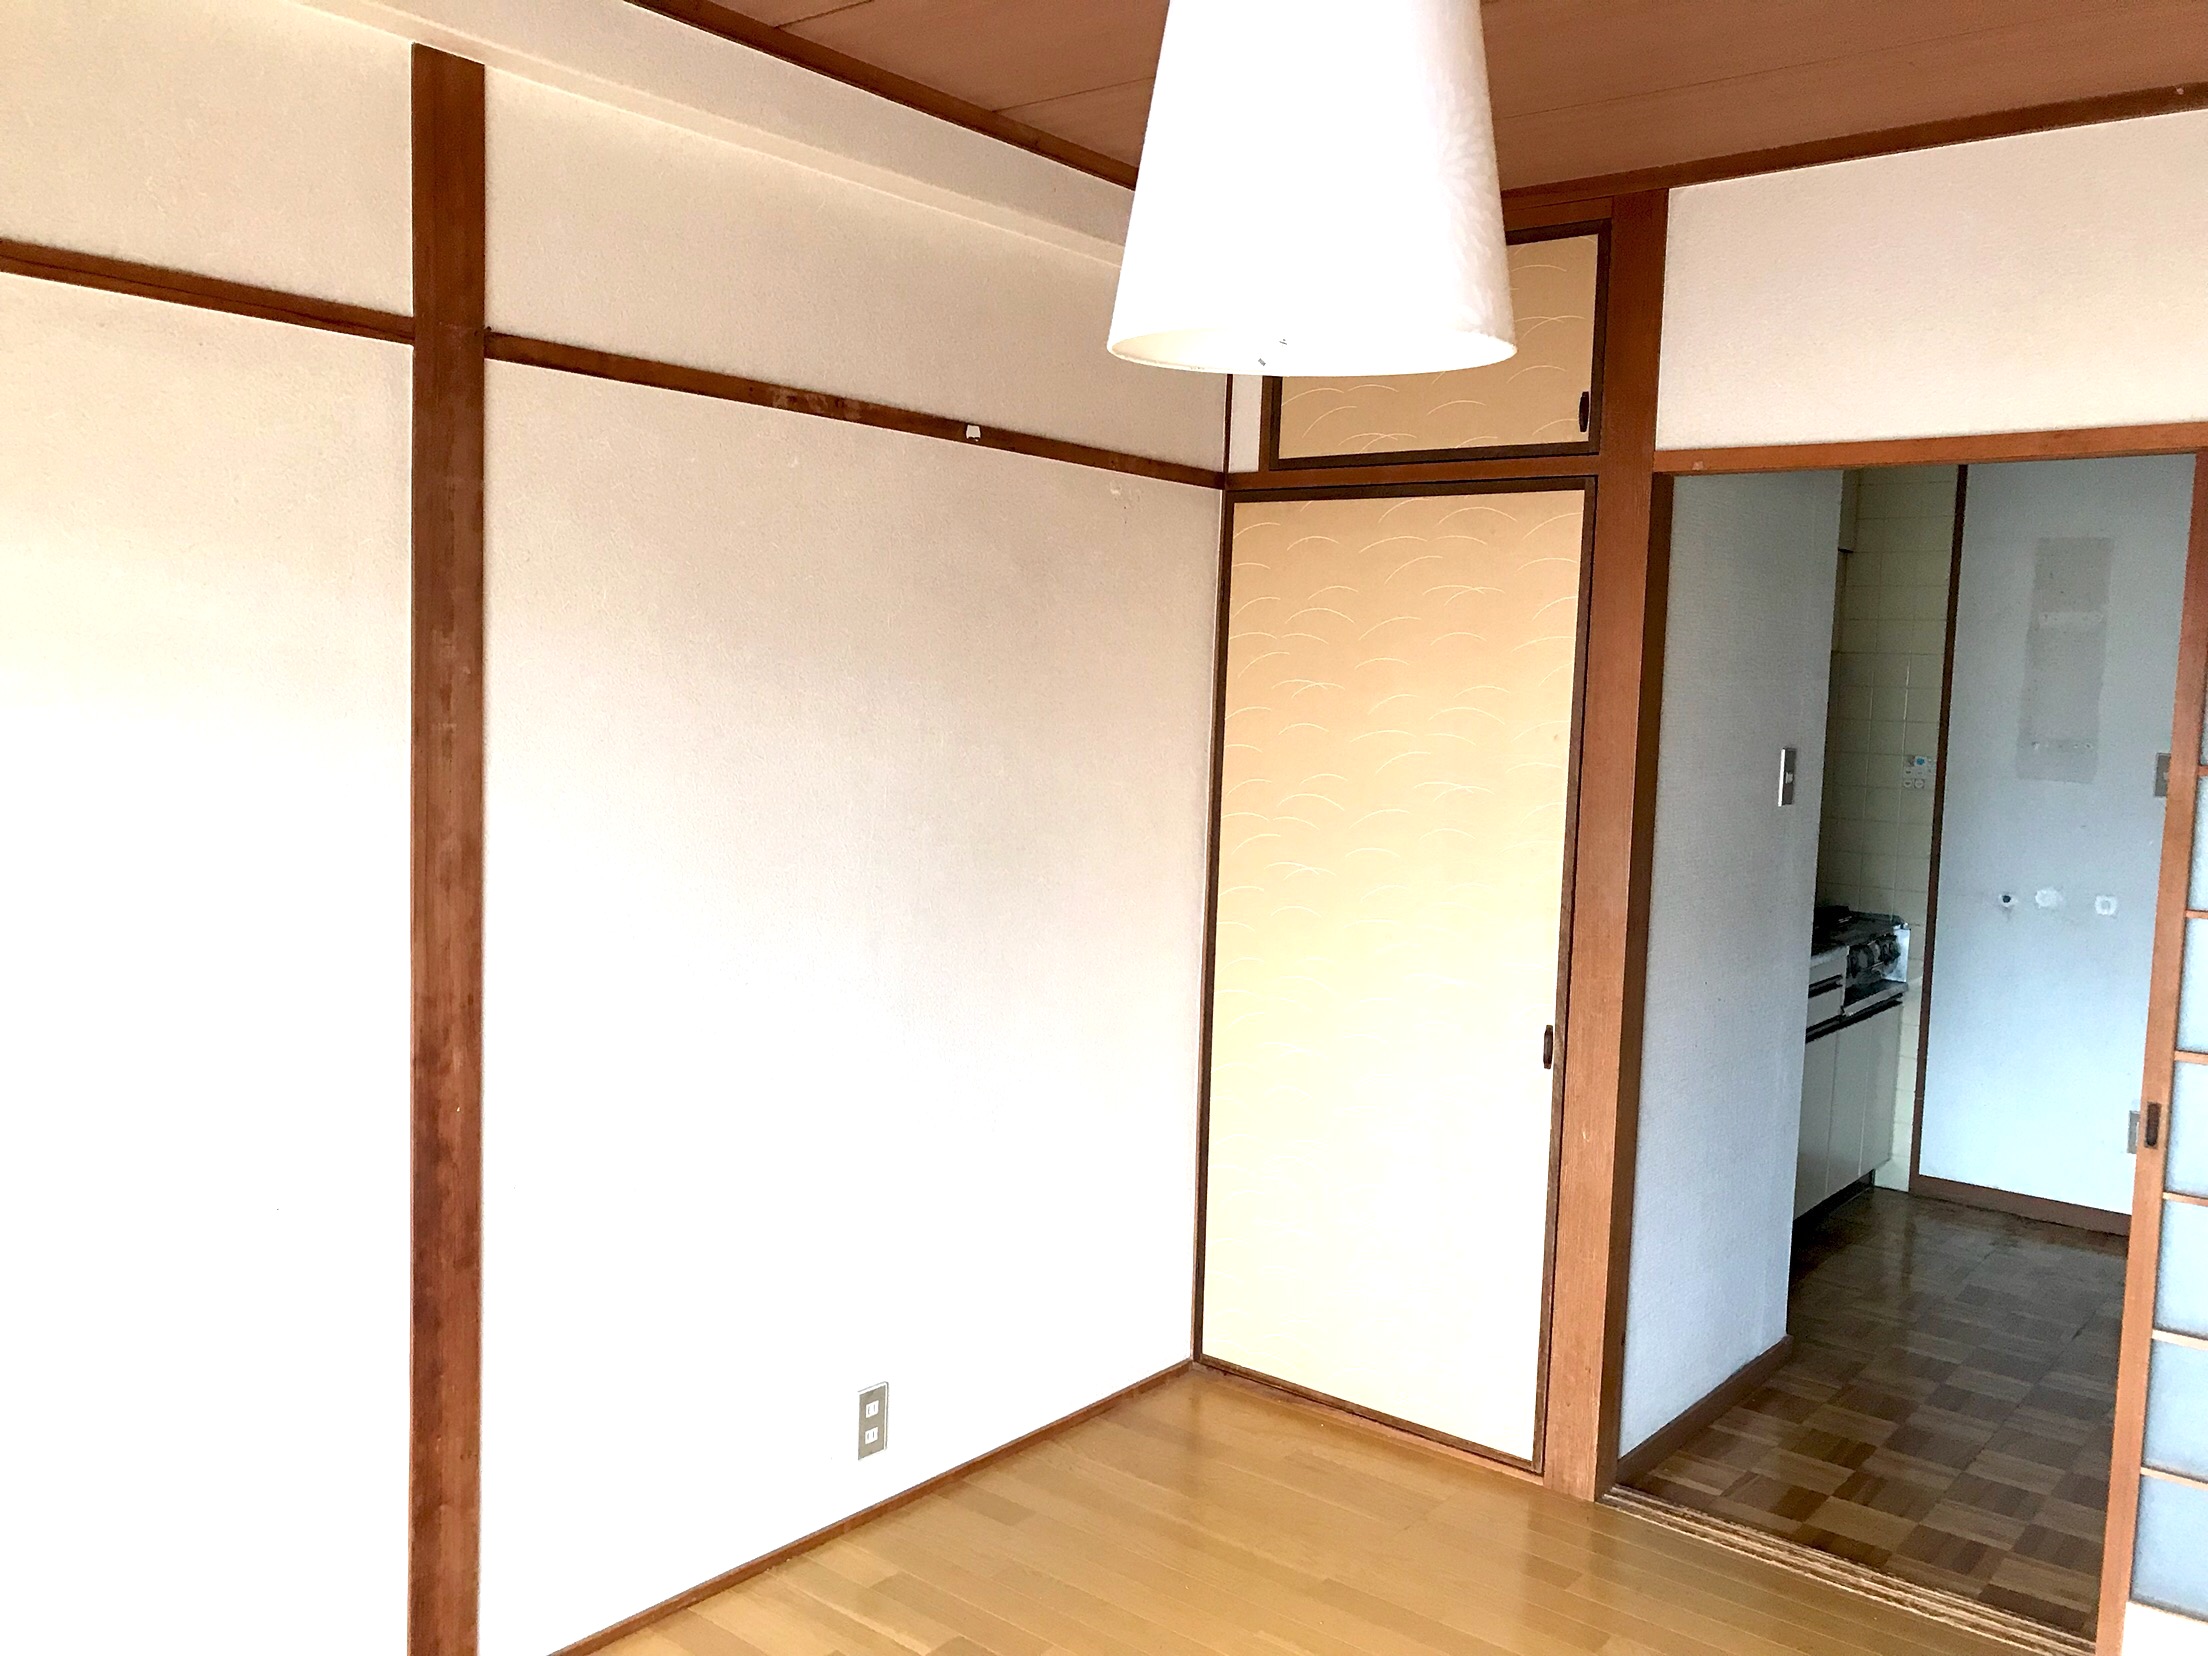
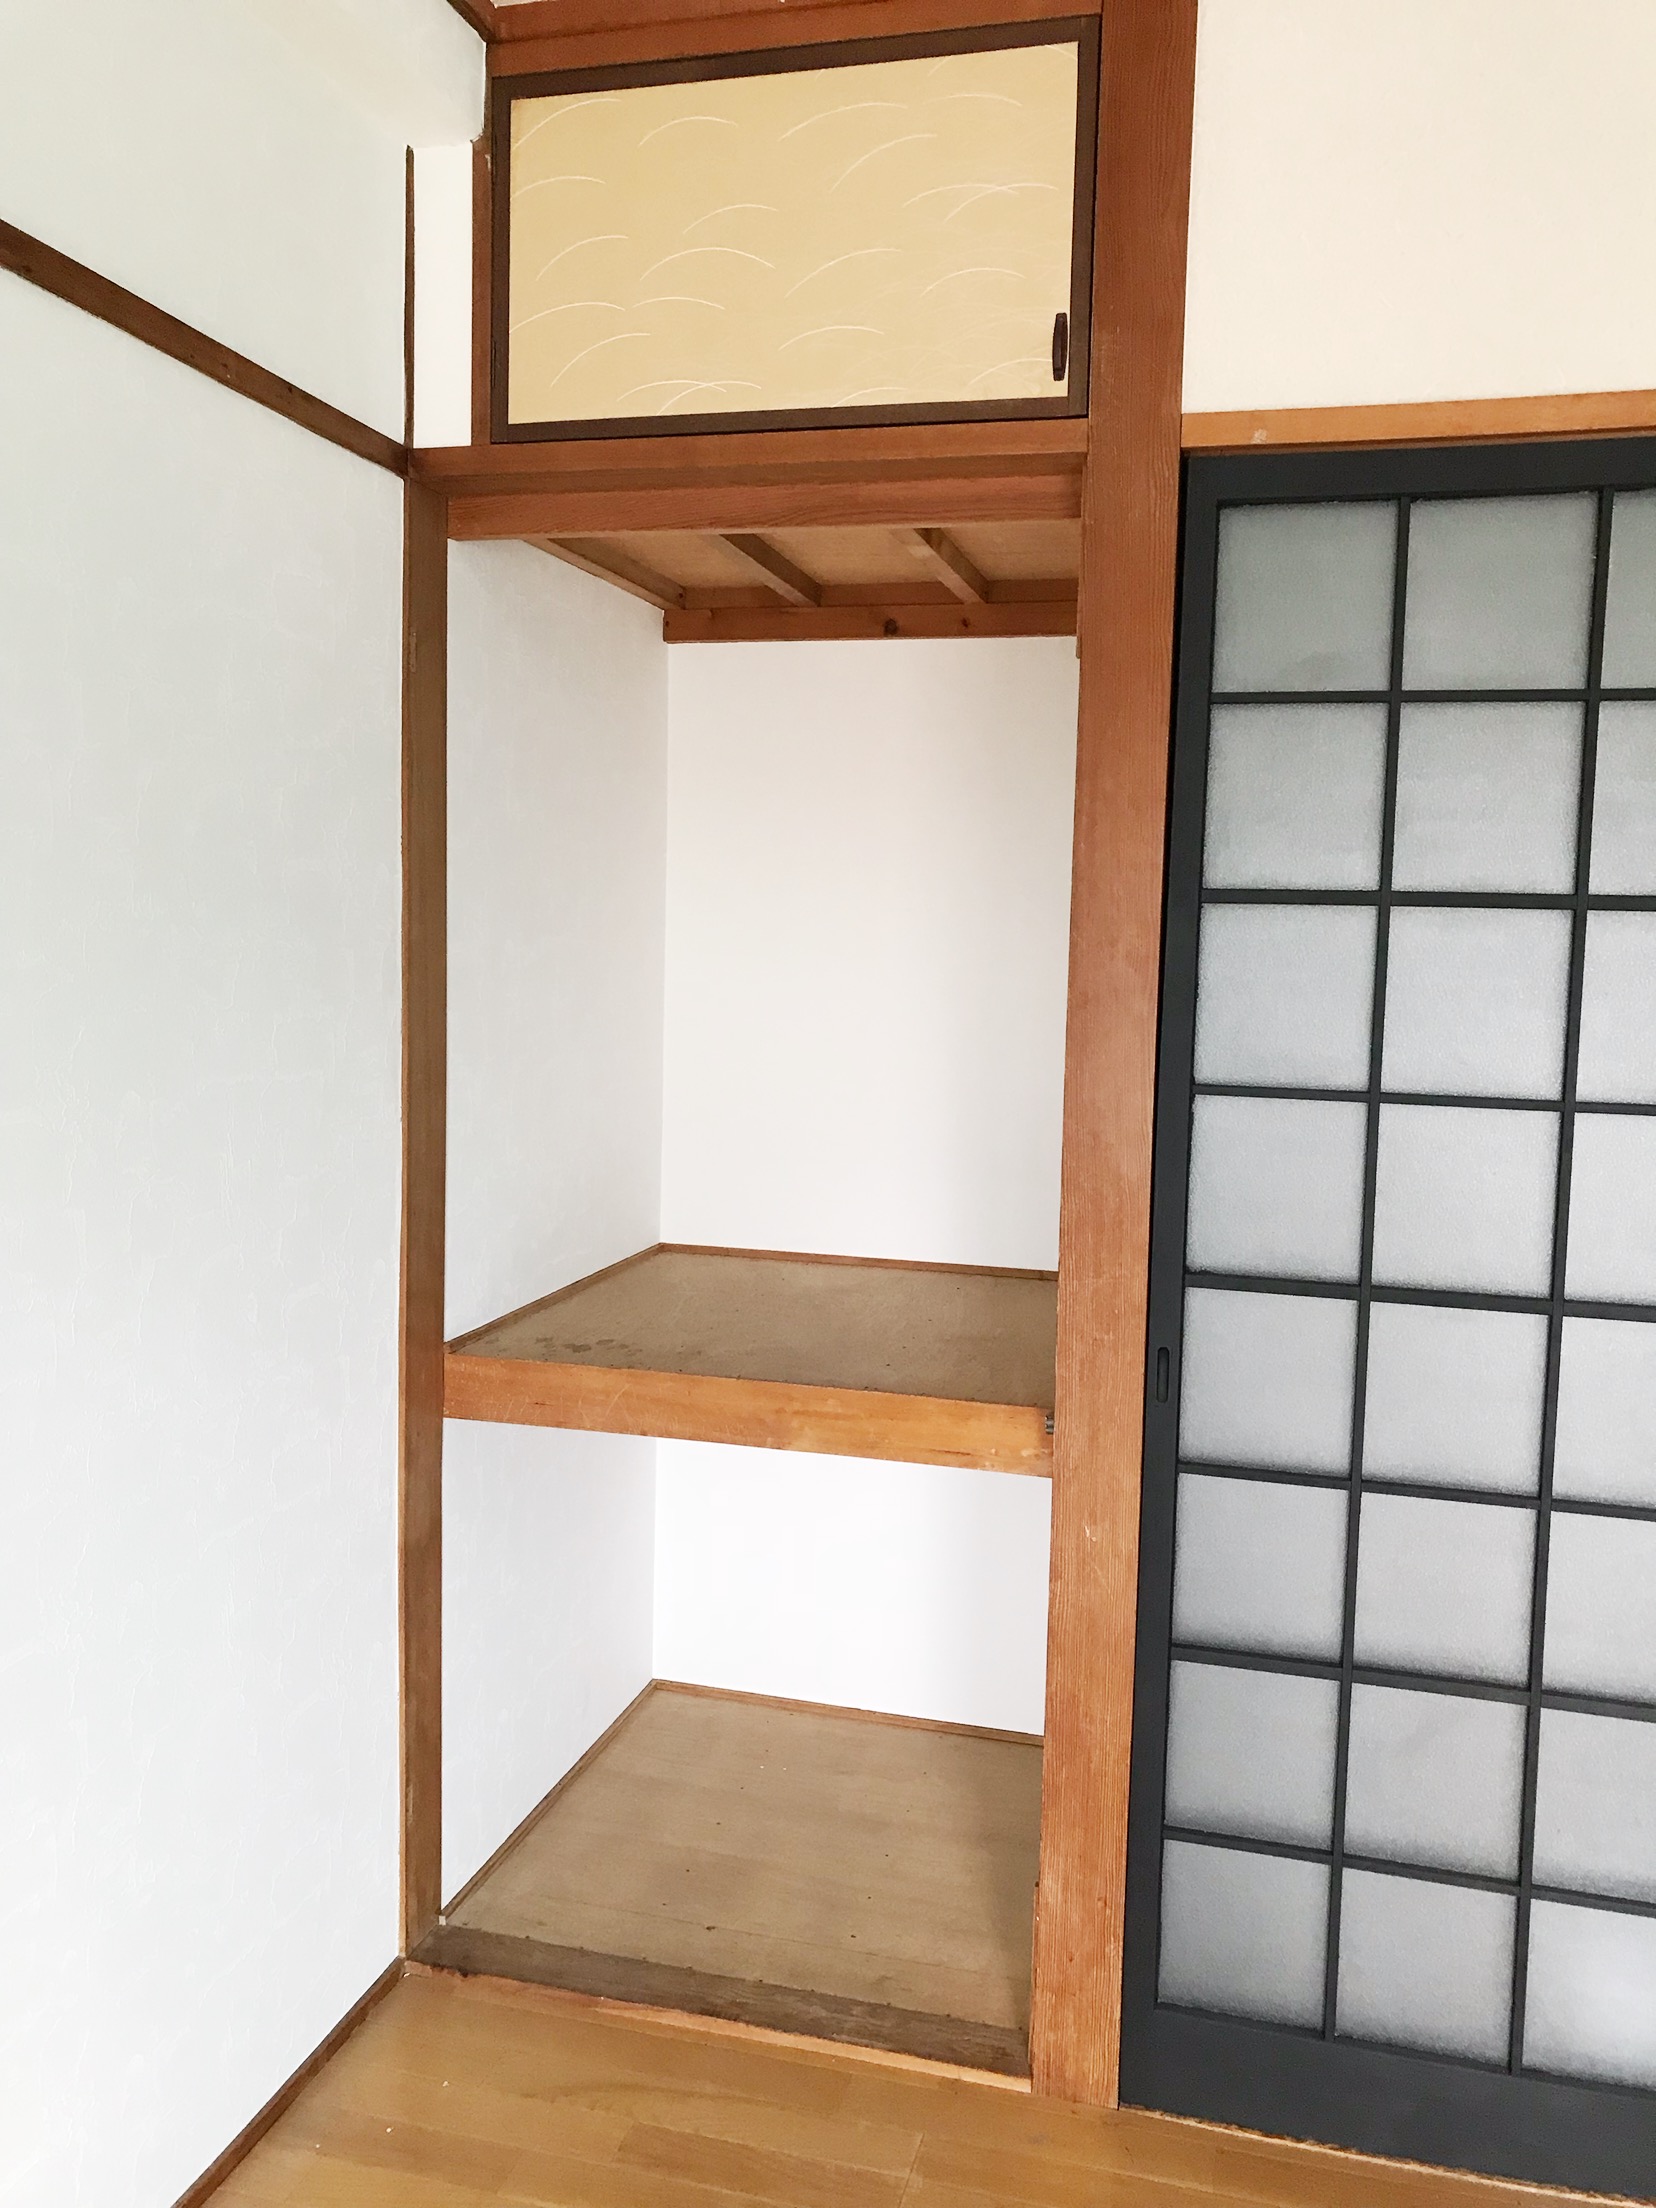
step1
元はこんな押入れでした。
step2
まずは襖を外します。

step3
内側のベニアに壁紙を貼ります。
(ベニアにそのまま壁紙を貼ると、アクが出てくる事があるようです。その為シーラーなど下地を塗ってから貼る方がいいそうですが、私はそのまま、何も塗らずに貼りました。)
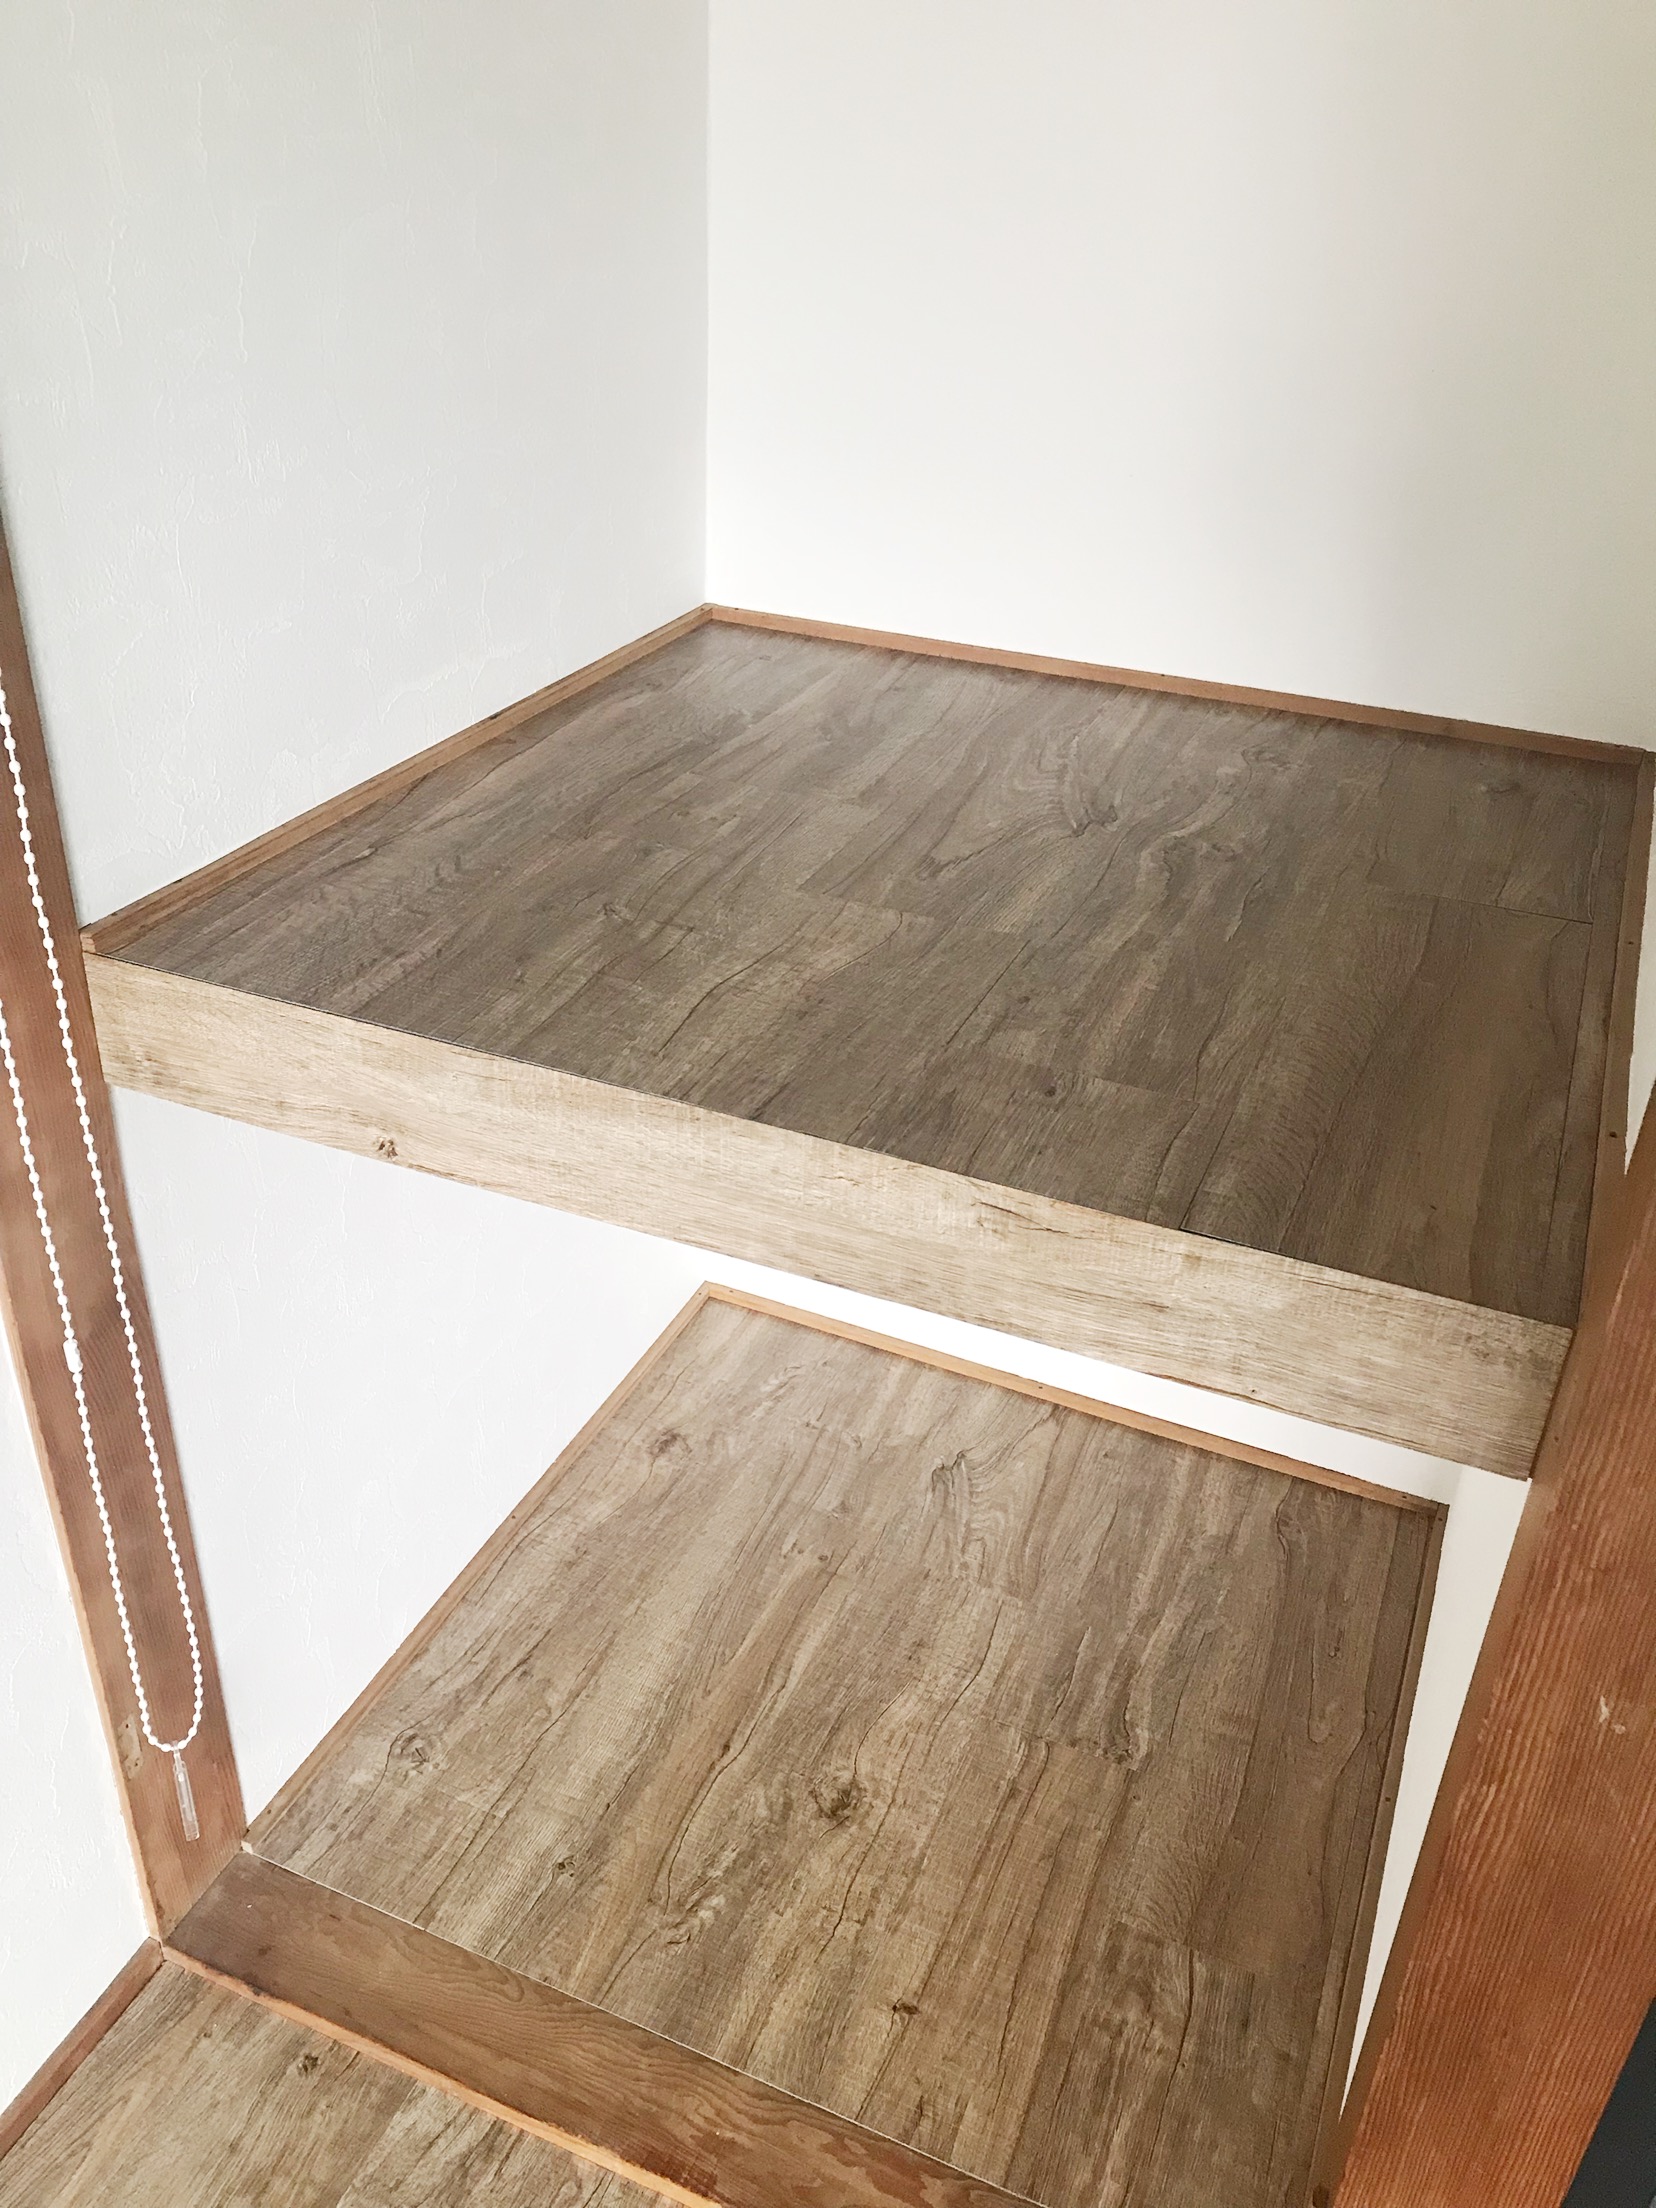
step4
中板と床に、フローリングに貼って余っていたフロアタイルを貼りました。
step5
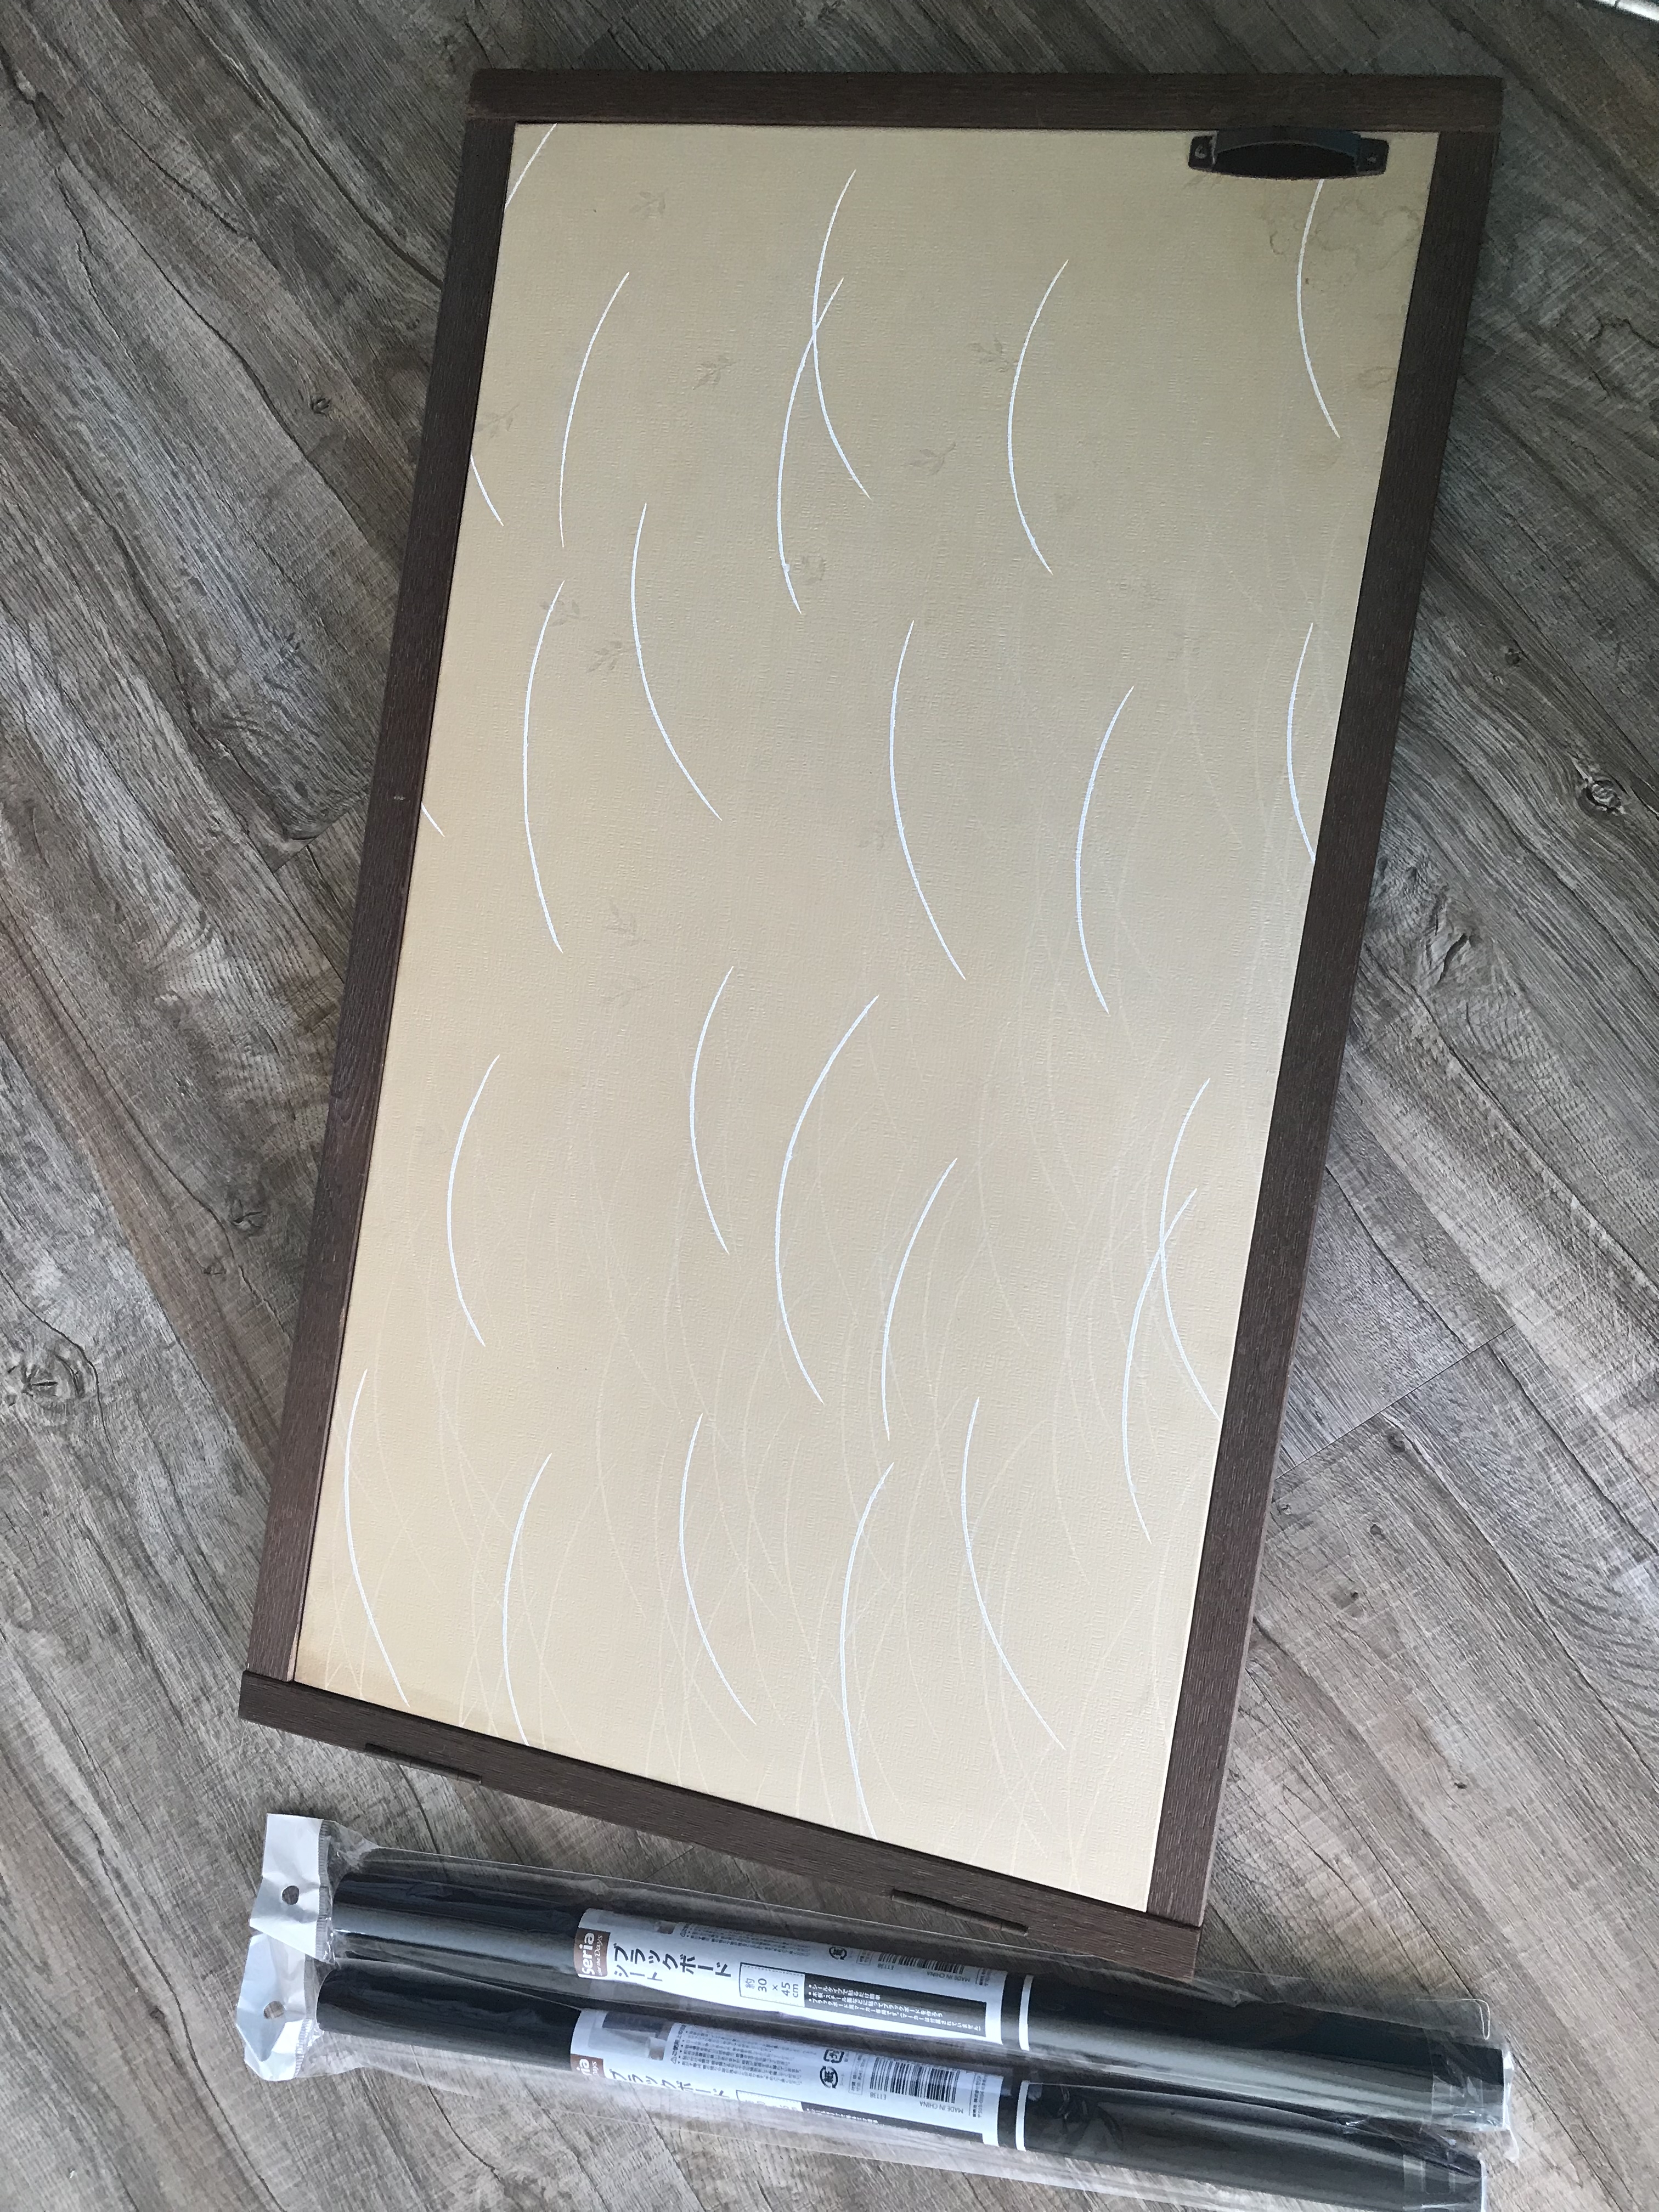
天袋の襖にはセリアのブラックボードシートを貼りました。
取っ手も新しいものに変えました。
step6
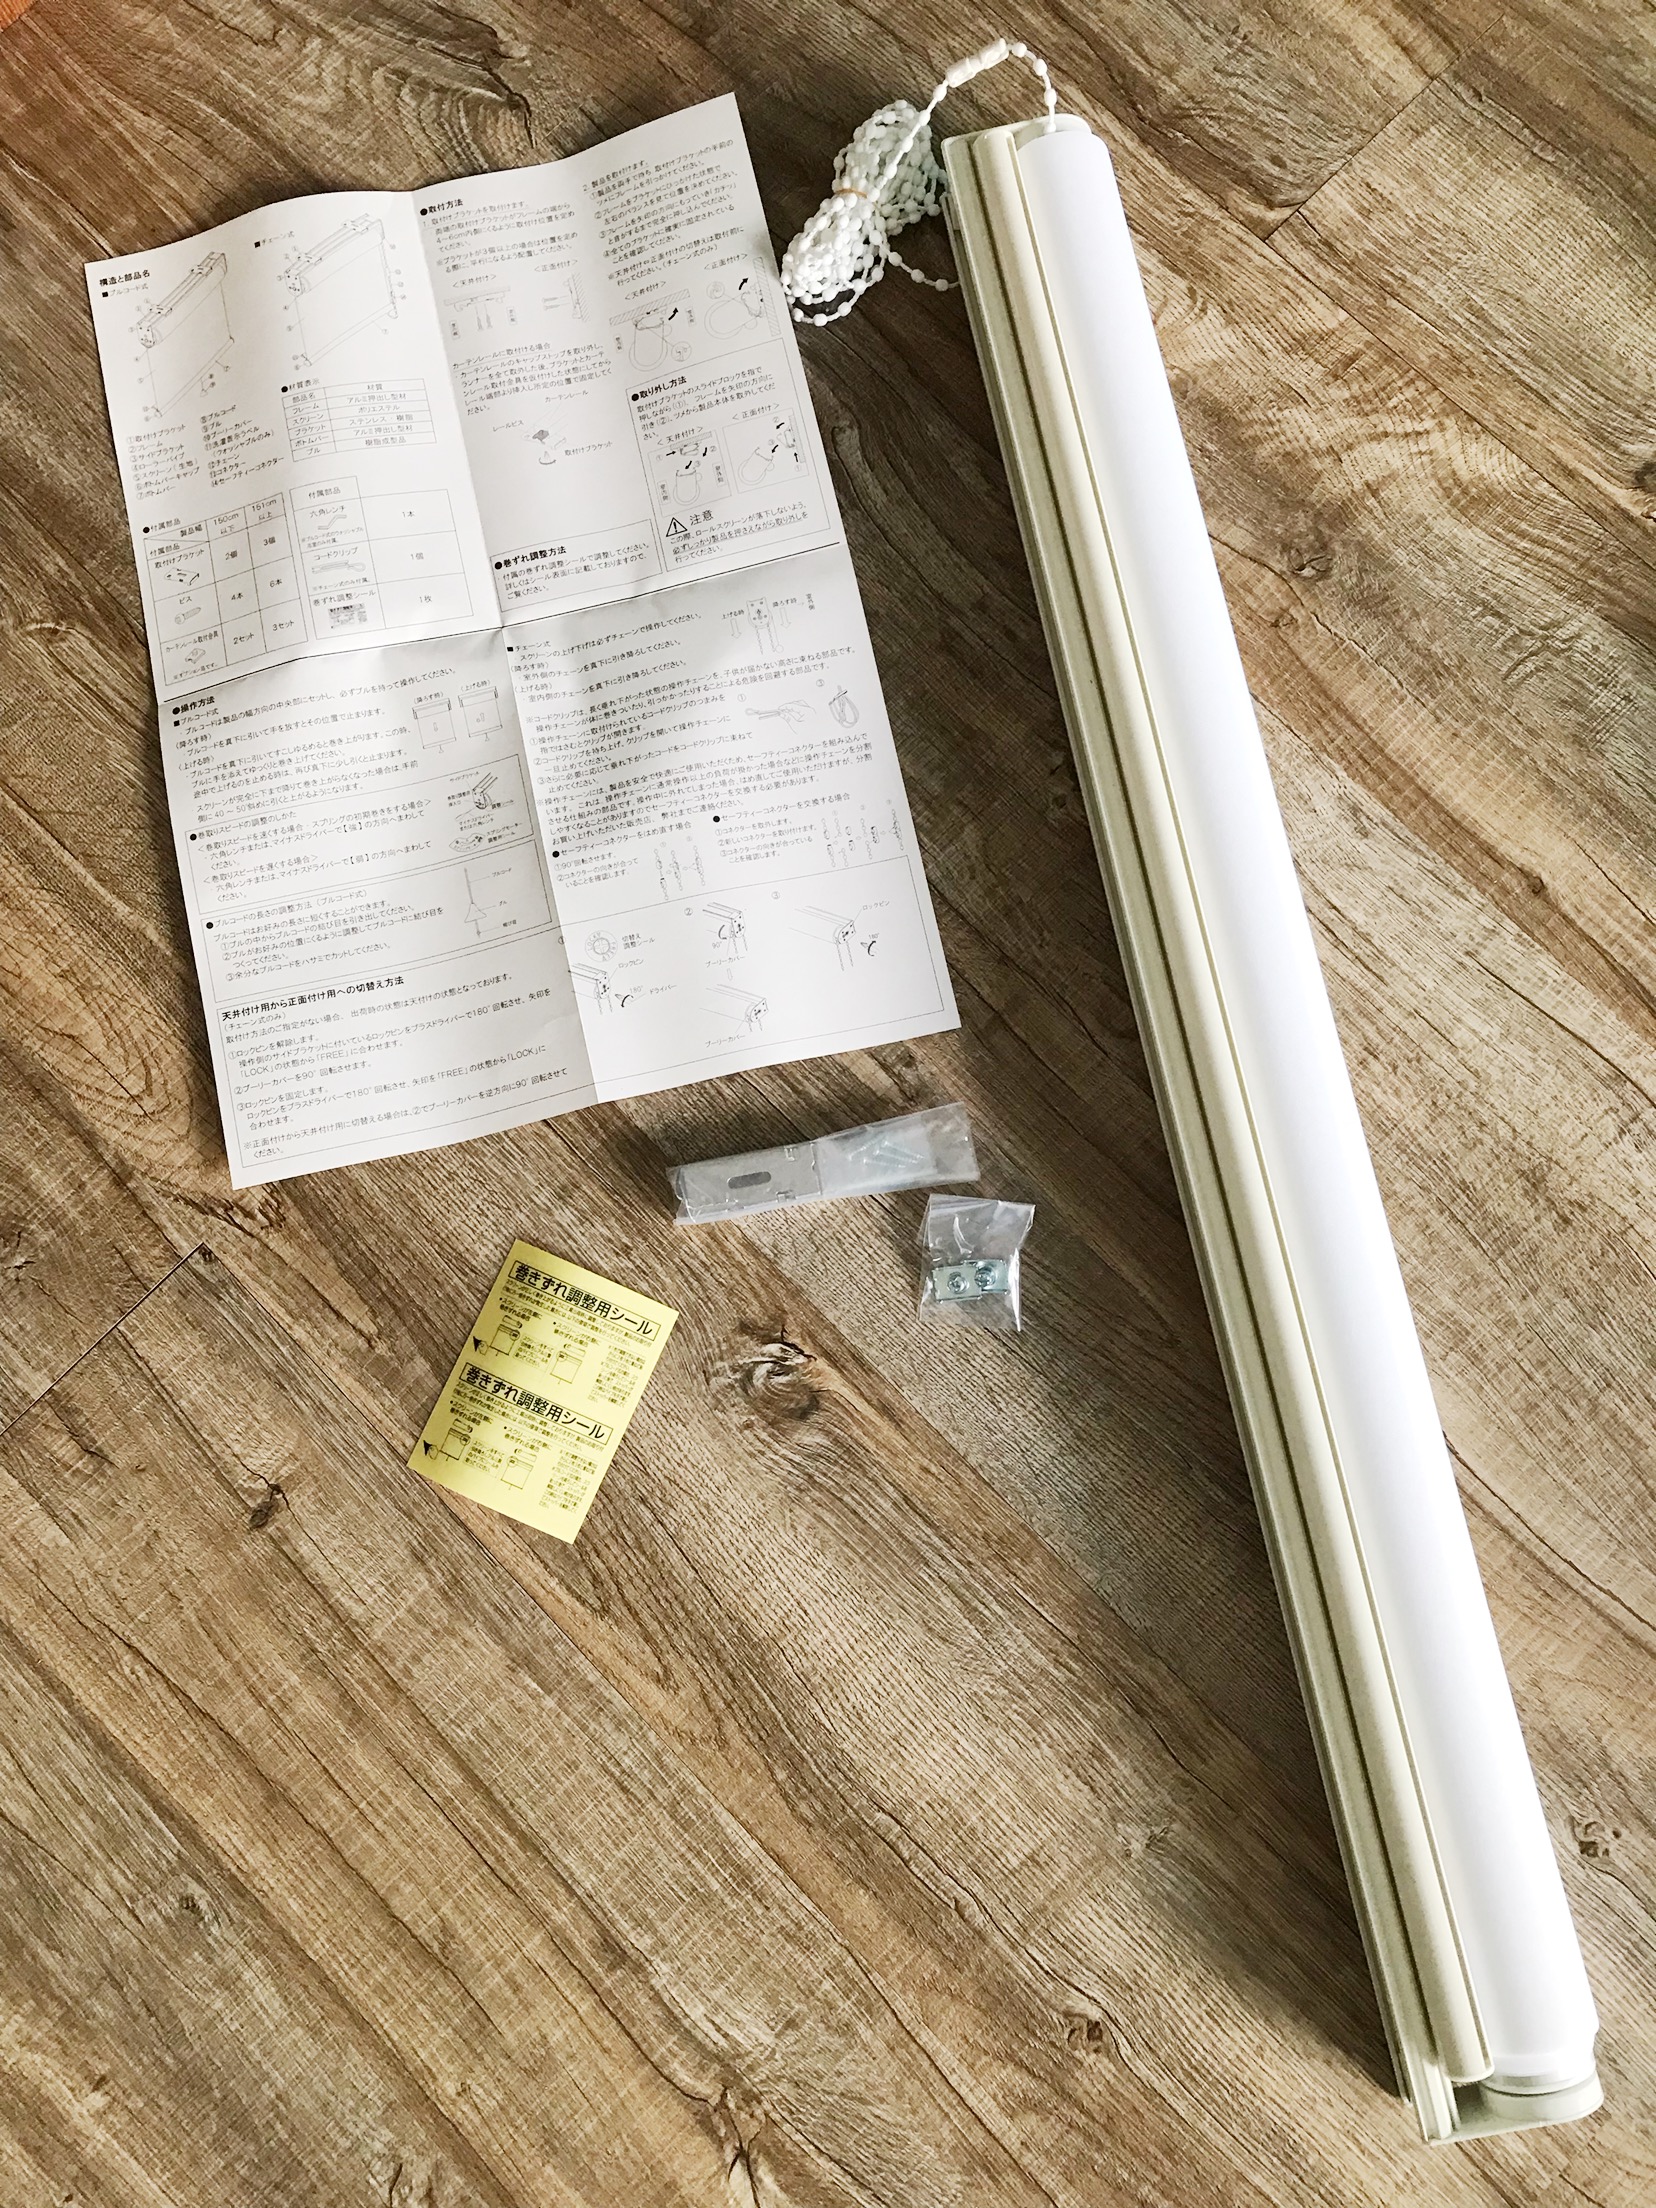
襖の代わりにロールスクリーンを設置しました。
こちらは楽天でサイズオーダーしたものです。
タチカワの製品で、今回購入したサイズが6,500円程度でした。
取り付けは金具をビス留めして、ロールスクリーンをカチッとはめるだけで簡単に出来ました。
step7
完成です。

コツ・ポイント
ロールスクリーンは天井付けと、正面付けの2通りの取り付け方法があります。
今回は天井付けにしましたが、正面付けの方が中をしっかり隠せると思います。
やってみた感想
使いやすい収納になるように、ハンガーパイプ等の取り付けを検討中です。。。

このレシピのキーワード
いいね
2
お気に入り
1
このレシピをシェア
ログインしてコメントする
このレシピを投稿したユーザー
投稿済みレシピ(141)

2022年03月18日
2022年01月31日
2021年12月31日
2021年10月30日
2021年10月17日

