


 レシピを投稿する
トップ > 「家具・照明」のDIYレシピ > IKEAのウォールミラーをペイントリメイク
IKEAのウォールミラーをペイントリメイク

Ricky♂
2017年05月09日

以前IKEAで買ったウォールミラー(姿見)を、ペイントリメイクしました。
かかった費用: 1,500円
所要時間: 2時間
いいね
1
お気に入り
0
このレシピをシェア


材料
グラフィティーペイント 1本
マスキングテープ 適量
マスキングテープ 適量
工具
刷毛
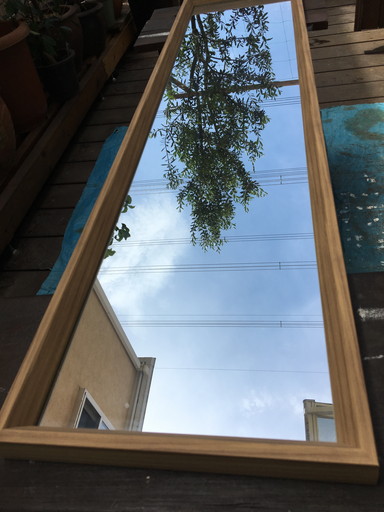
step1
もともとはこんな木目のミラーでした。
step2
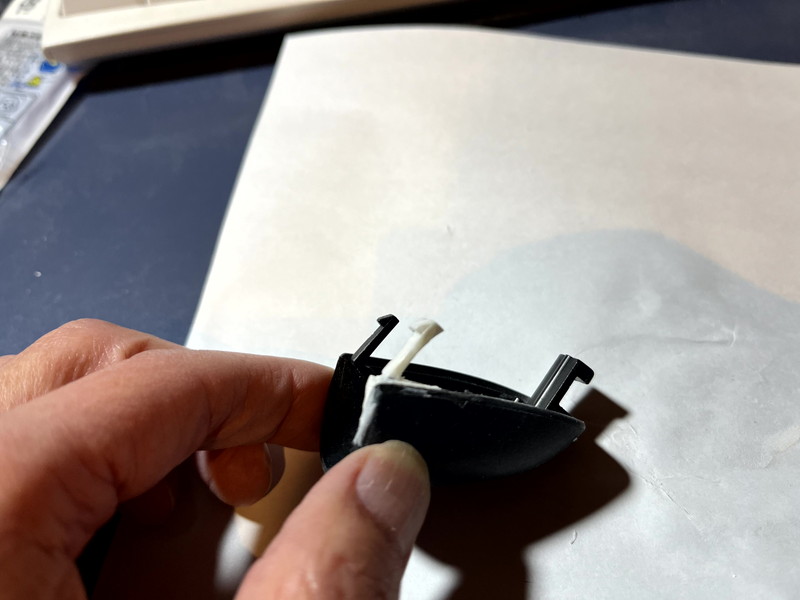
ウラの吊り下げ金具を外し、マスキングします。オモテとウラ両面をマスキングしてください。

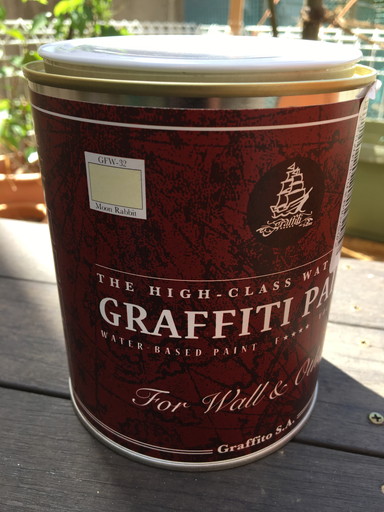
step3
使ったのは、グラフィティーペイントのMoon Rabbit という色で、アイボリー系のホワイトです。
step4
ペイントをよく混ぜ合わせたら、ウラ面から塗っていきます。とても乾きが早いので、手早く塗りましょう。
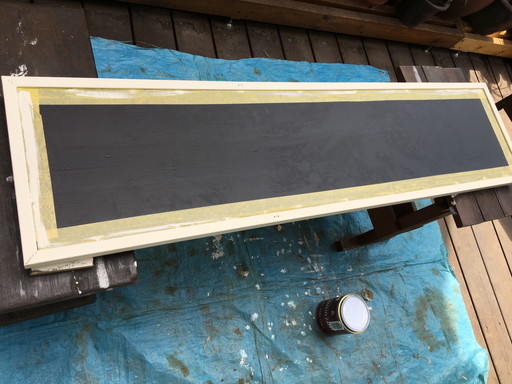
step5
ひっくり返してオモテ面を塗ったら、もう一度ウラに返して二度塗り。オモテも二度塗りします。
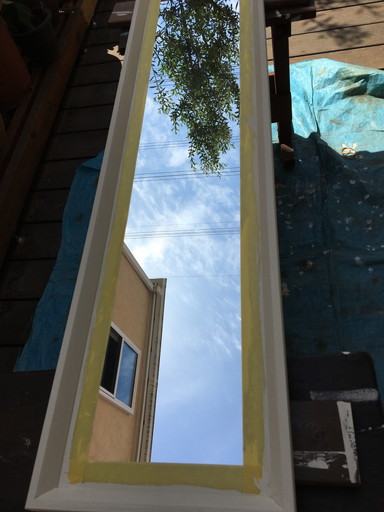
step6
塗料が完全に乾き切る前にマスキングテープを剥がします。
step7
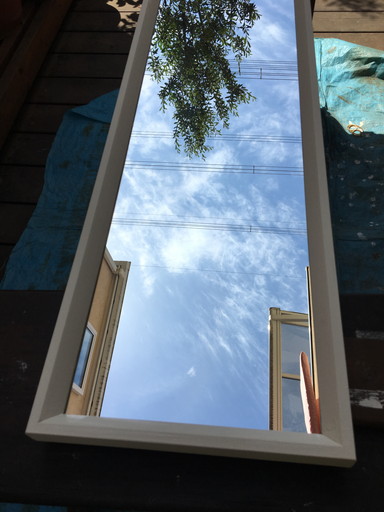
玄関に戻して完成!

コツ・ポイント
マスキングテープを貼るときに、端の方をきっちり押さえて貼りましょう。はがす時は段ボールの切れ端などを用意して巻き取るようにはがすとうまくはがせます。
やってみた感想
ちょっと雰囲気が明るくなった気がします!

このレシピのキーワード
いいね
1
お気に入り
0
このレシピをシェア
ログインしてコメントする
このレシピを投稿したユーザー
投稿済みレシピ(36)
2025年06月03日

2025年01月21日
2024年05月30日

2024年01月25日
2024年01月19日

