


 レシピを投稿する
トップ > 「メンテナンス・お掃除」のDIYレシピ > 固着したユニットバスの温度調節ハンドル(サーモユニット)を交換しました
固着したユニットバスの温度調節ハンドル(サーモユニット)を交換しました

Ricky♂
2024年01月25日

築15年になる自宅のユニットバス。温度調節のハンドルが固く回しにくくなり、湯温が不安定になってきたので、サーモユニット(TOTO TH576-4S)を交換してみました。
かかった費用: 8,500円
所要時間: 30分
いいね
4
お気に入り
0
このレシピをシェア


材料
サーモユニット( TH576-4S) 1
袋ナット(TH22412) 1
シリコングリス 少々
袋ナット(TH22412) 1
シリコングリス 少々
工具
ドライバー(+-)
ウォーターポンププライヤー
ウォーターポンププライヤー
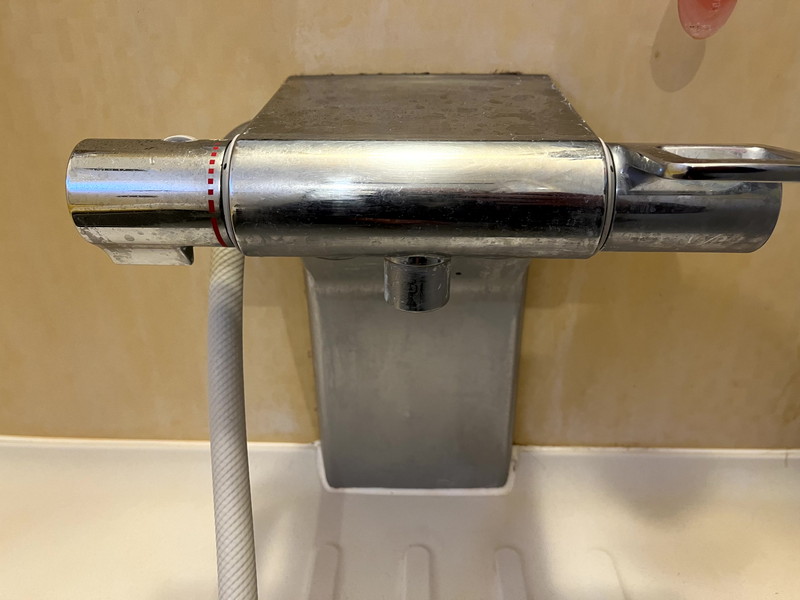
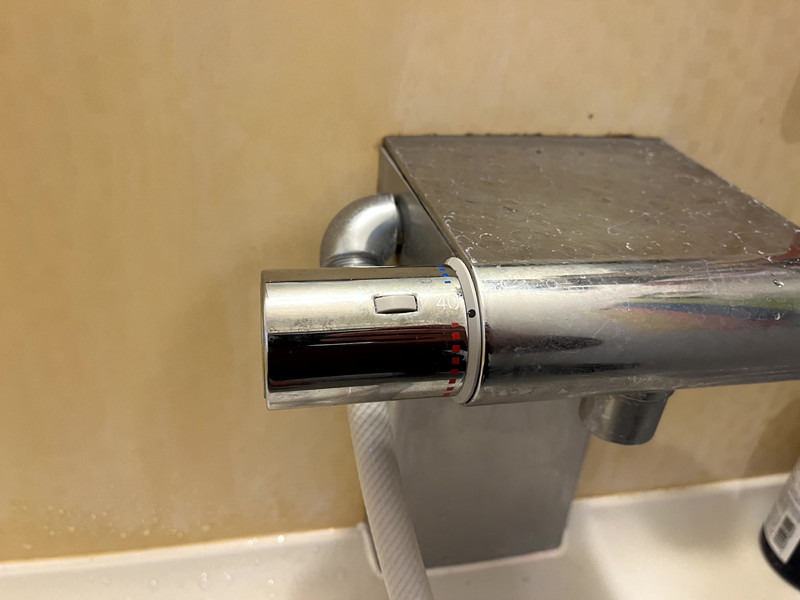
step1
こちらがユニットバスの水栓です。給湯器に問題がないのに、湯温が安定しない場合にはサーモユニットに問題がある可能性が高いです。
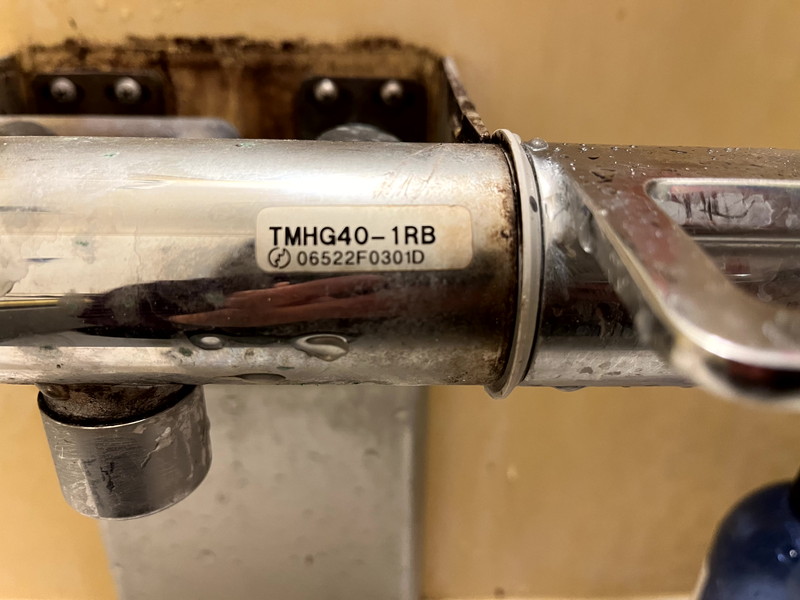
step2
上のカバーを外して品番を確認します。この品番にはTH576-4Sというサーモユニットが適合します。
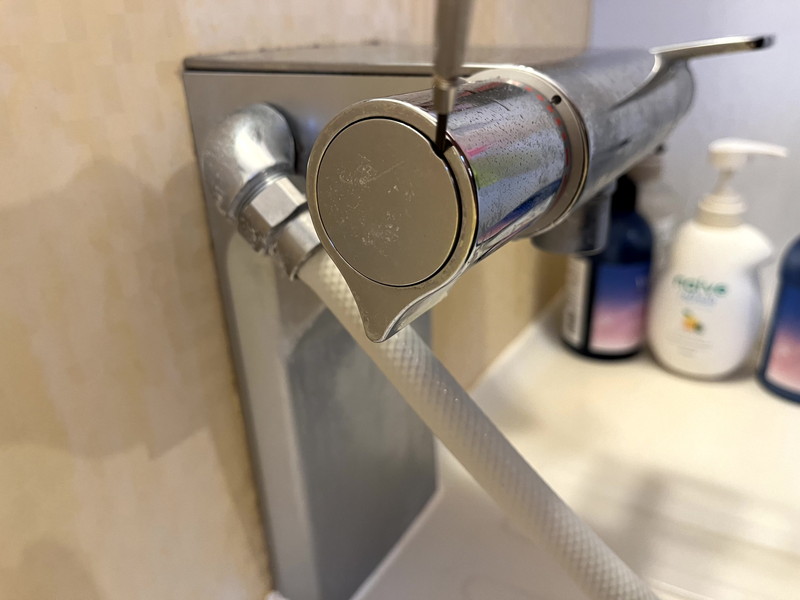
step3
まず小さなマイナスドライバーを溝に差し込んでフタを外します。このとき温度のメモリは40℃の位置に合わせておきます。
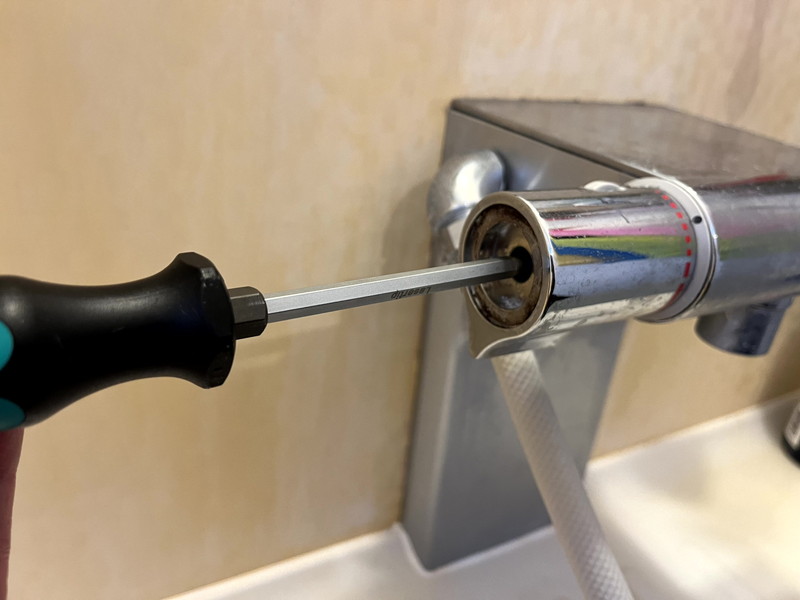
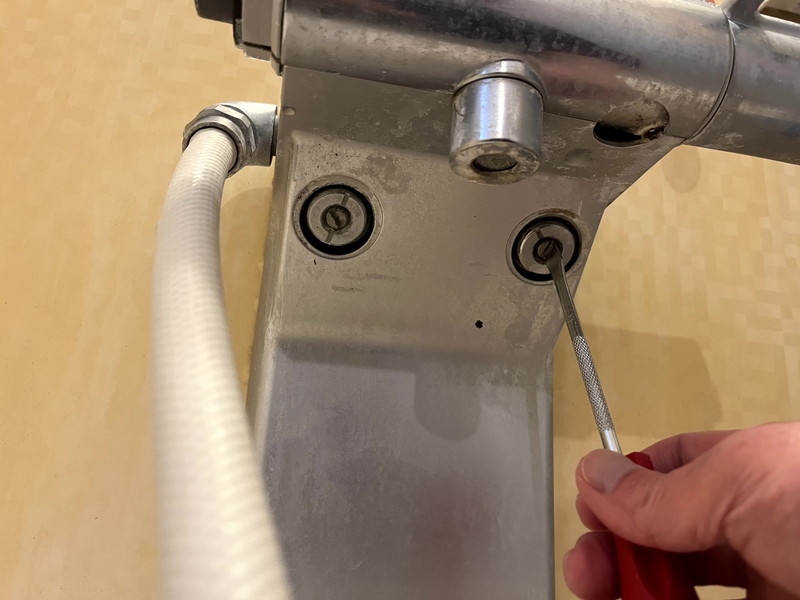
step4
次にハンドルを固定しているネジを外し、ハンドルを抜きます。固着して抜けないときは、ゴムハンマーなどで軽く叩くと抜けます。
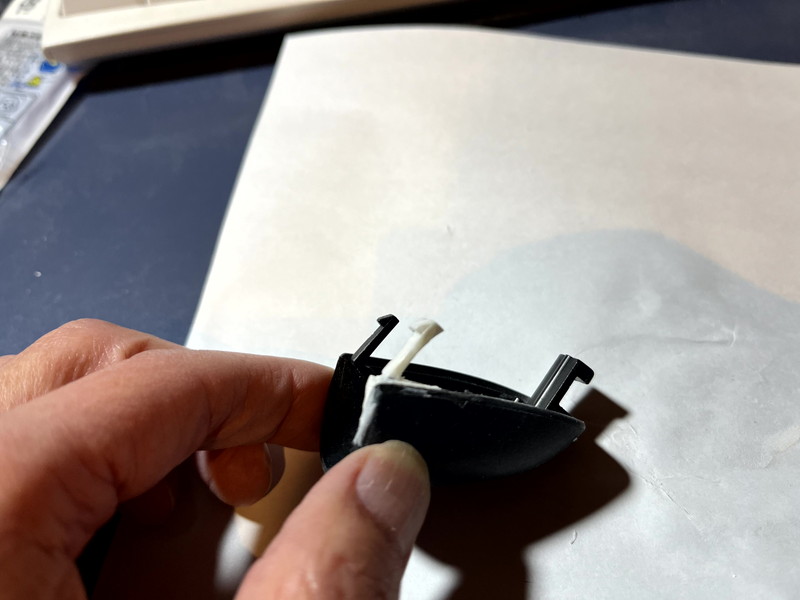
step5
次にインデックス(白いパーツ)を抜きます。下に切れ目があるのでここを少し開いて横に抜きます。開きすぎると割れるので注意です。
step6
インデックスを抜くとナットが現れます。
step7
ナットを緩める前に止水栓を閉めておきます(左右とも)。
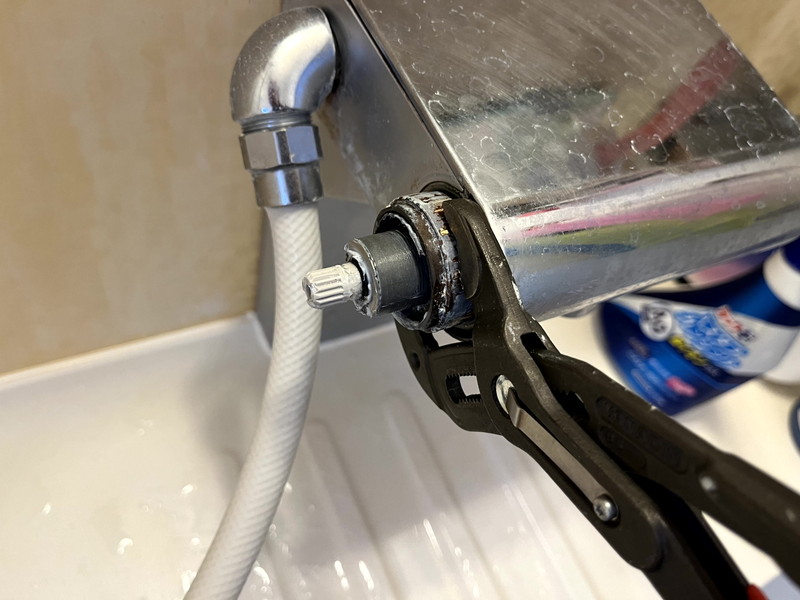
step8
次にウォーターポンププライヤーでナットを緩めますが、ガチガチに固着していて動きません・・・。ラスペネ(潤滑油)を少し注入して力いっぱい回したら何とか外れました。
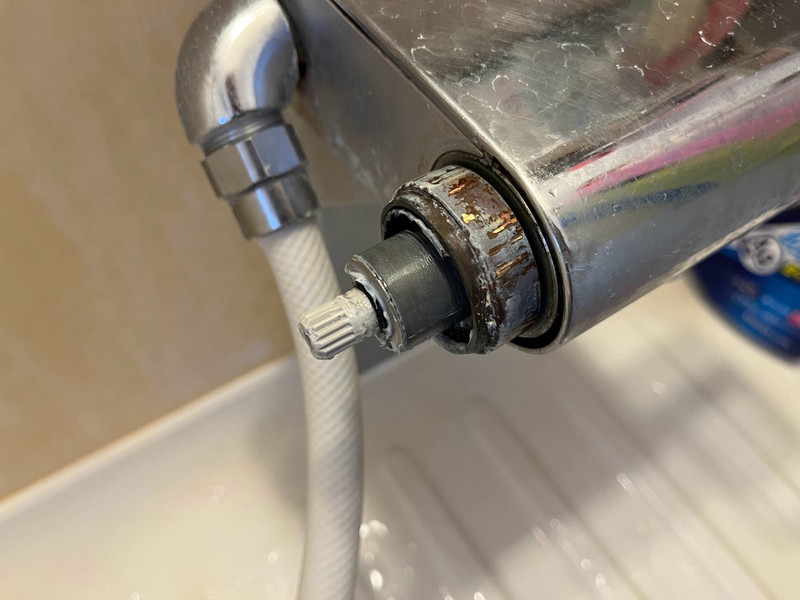
step9
ストッパーを手で引き抜きます。このときに差し込まれている位置(角度)を覚えておいてください。
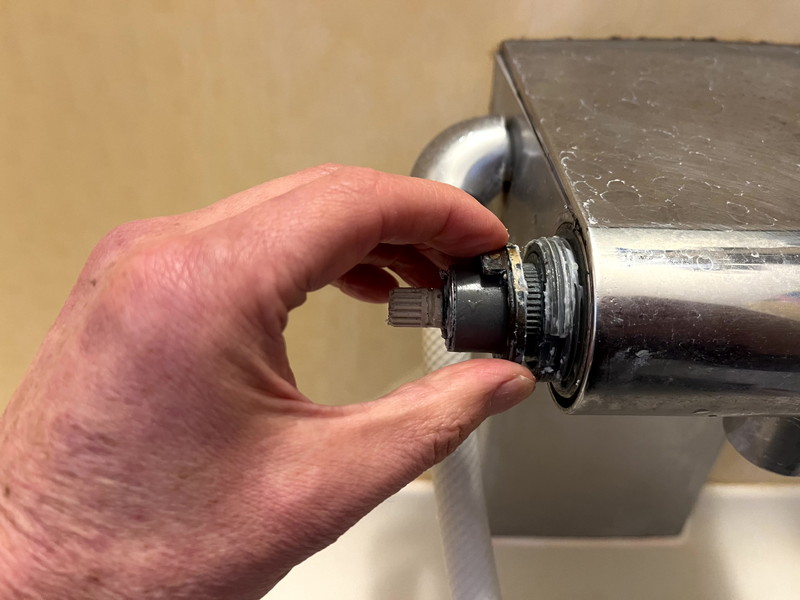
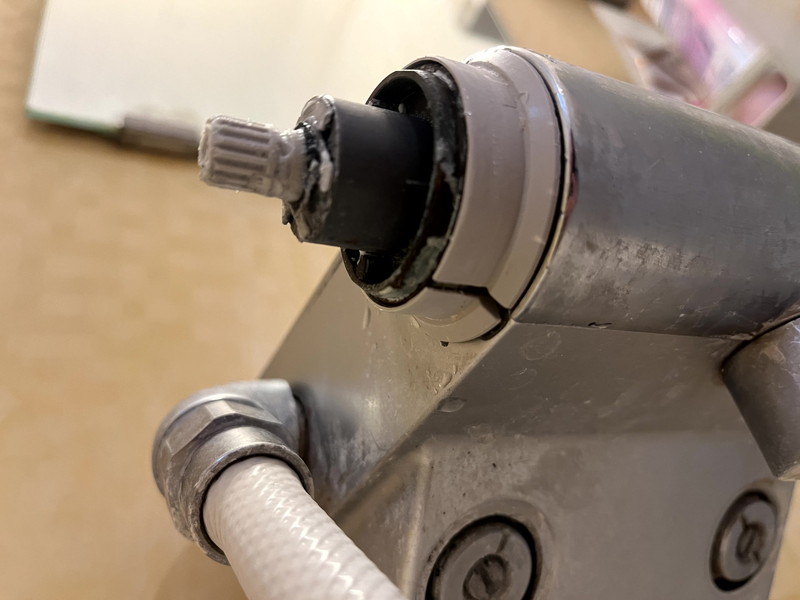
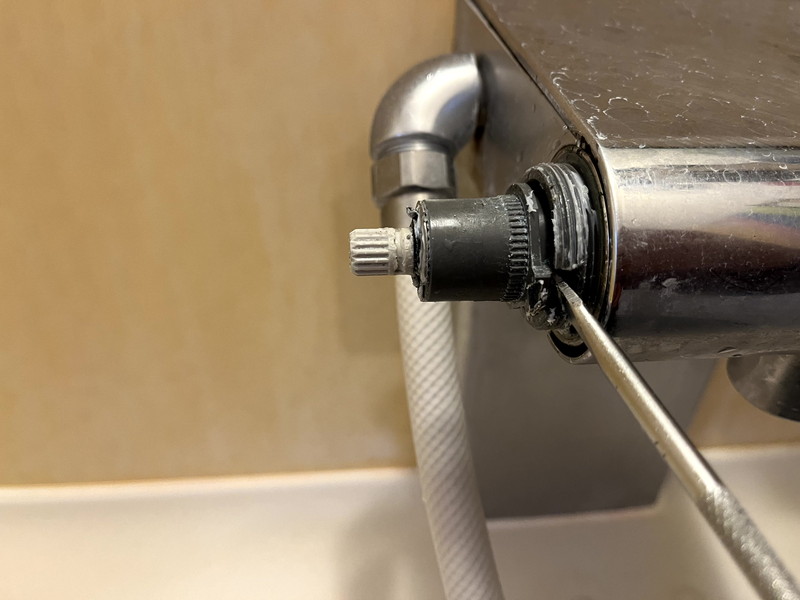
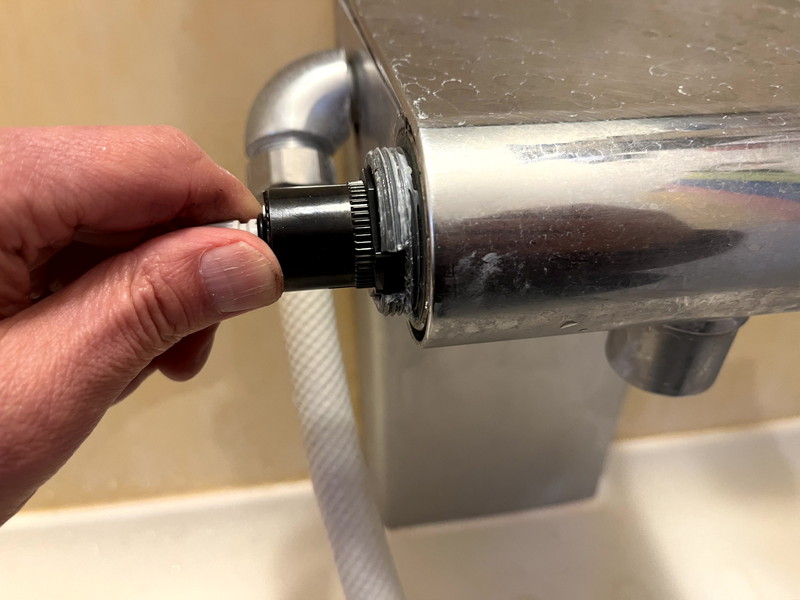
step10
いよいよサーモユニットを引き抜きます。切り欠きの部分にマイナスドライバーを差し込んで少しずつ抜いていきます。抜けるとドバッと黒い水が出ます。
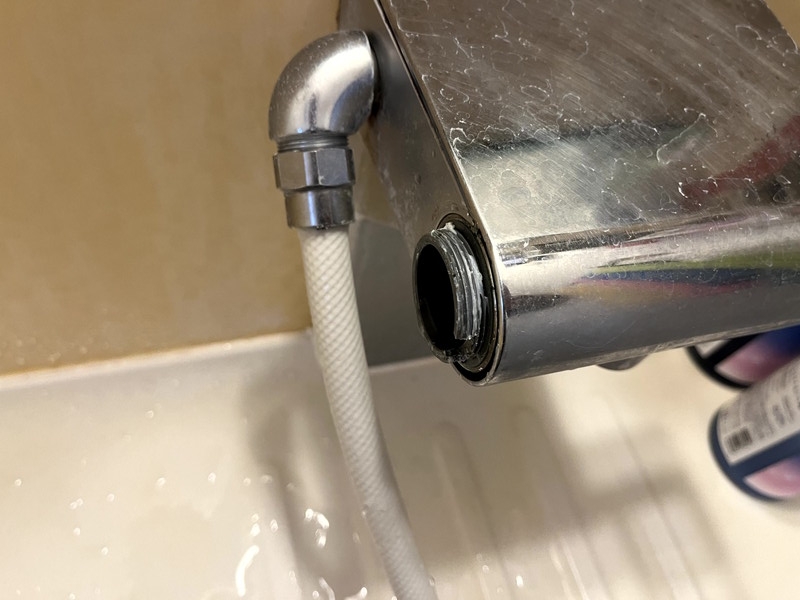
step11
サーモユニットが外れました。この状態で少し止水栓を開けて、中のゴミや汚れを流しておきます。
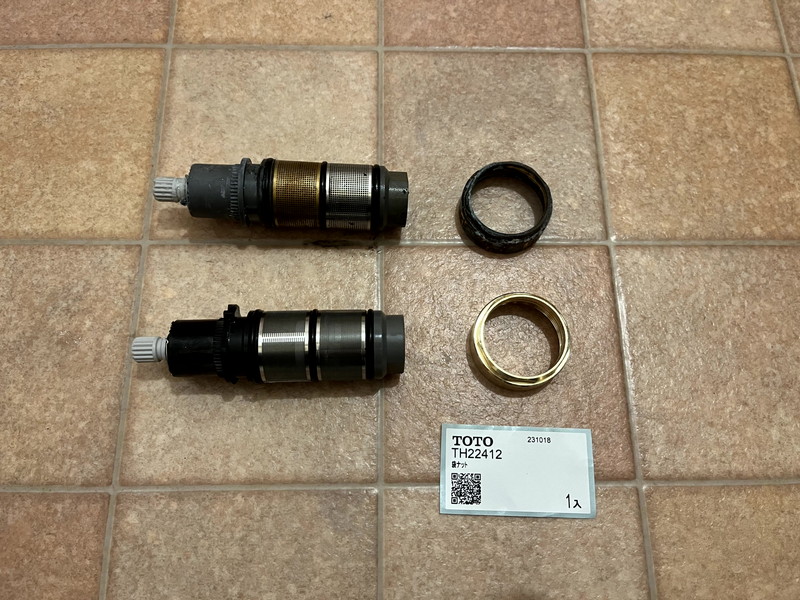
step12
新しいサーモユニット(下)とナットです。ナットは汚れていたのでついでに交換しましたが、変えなくても大丈夫です。
step13
新しいサーモユニットの切り欠きを合わせて、奥までグッと差し込みます。
step14
あとは逆順で戻していくだけです。ナットは手でグッと締め付ける程度で大丈夫です。ピカピカで気持ちいいですね。
パッキンとネジまわりにはシリコングリスを塗っておきました。

step15
ハンドルをもとの位置に戻して完了です。
湯温が目盛りと合っているか確認し、必要ならハンドルの位置を調整します。
コツ・ポイント
水栓まわりのメンテナンスは固着との闘いなので、いい工具(ウォーターポンププライヤー)を準備しておくことをおすすめします。TOTOのサイトで品番をきちんと確認すれば、交換自体は簡単です。
やってみた感想
ハンドルは新築時のように軽くなり、湯温も安定しました。温度調節に問題がなければ、サーモユニットの可動部にシリコングリスを塗るだけでも動きの固さは改善されます。

このレシピのキーワード
いいね
4
お気に入り
0
このレシピをシェア
ログインしてコメントする
このレシピを投稿したユーザー
投稿済みレシピ(36)
2025年06月03日

2025年01月21日
2024年05月30日
2024年01月25日
2024年01月19日

