


 レシピを投稿する
トップ > 「メンテナンス・お掃除」のDIYレシピ > 電動トリマーにありがちな、専用レンチの破損をDIYで解決
電動トリマーにありがちな、専用レンチの破損をDIYで解決

Taatan
2018年08月15日
電動トリマーのパーツ(工具)が破損してしまうと作業に支障が出たり機械自体が使えなくなってしまうので、専用の工具よりも頑丈なものをDIYで作ってみました。
かかった費用: 200円
所要時間: 1時間
いいね
1
お気に入り
0
このレシピをシェア


材料
コンビネーションレンチ8mm 1本
レンチ14mm 1本
レンチ14mm 1本
工具
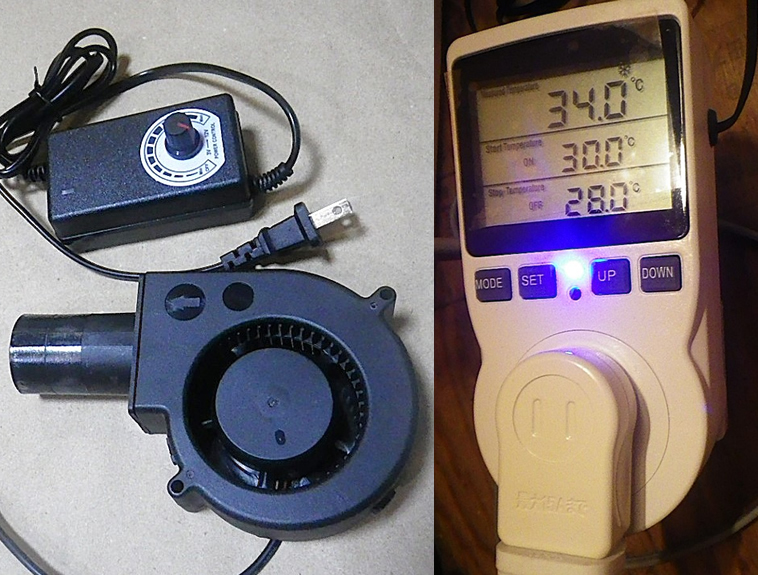
電動トリマー
ディスクグラインダー
棒ヤスリ
ディスクグラインダー
棒ヤスリ
step1
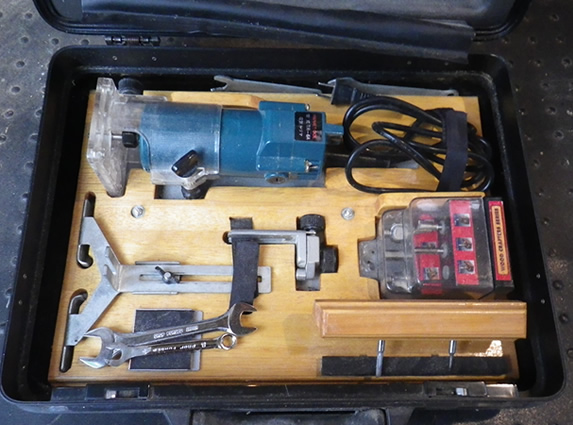
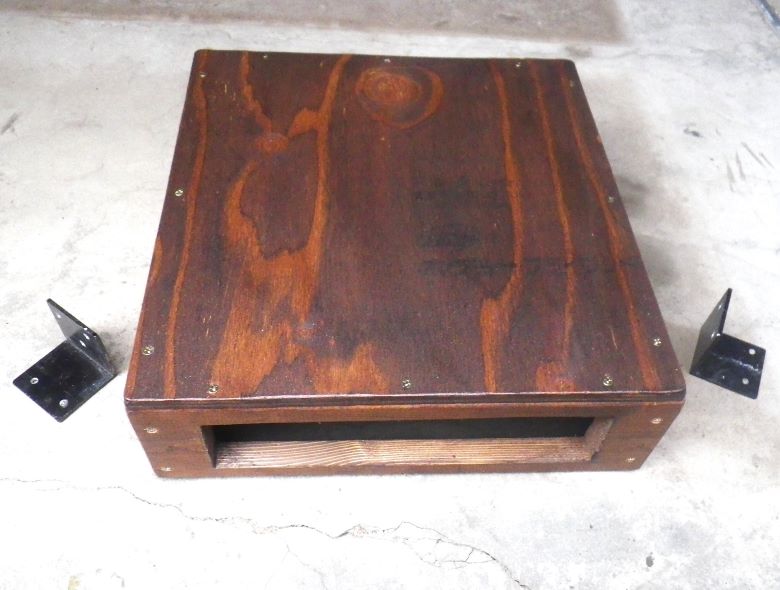
先日、トリマー用のBOXの型枠を作って収納しましたが、困った自体が起きたのでメンテナンスというか、これに使う工具を改造して作ってみました。
step2
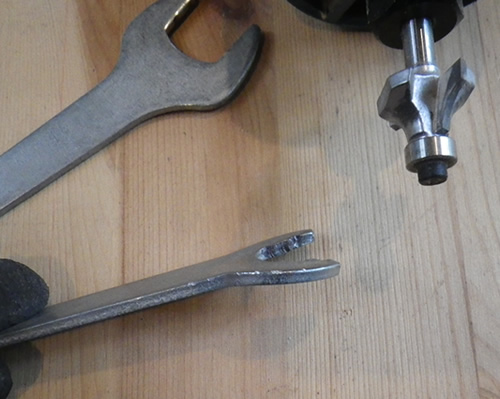
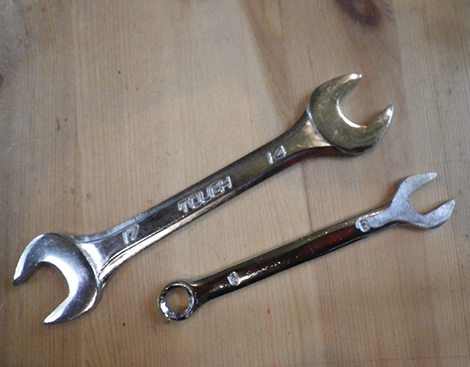
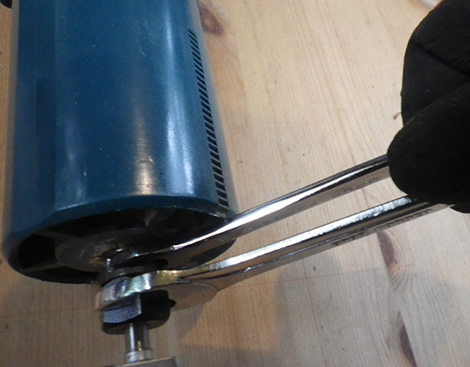
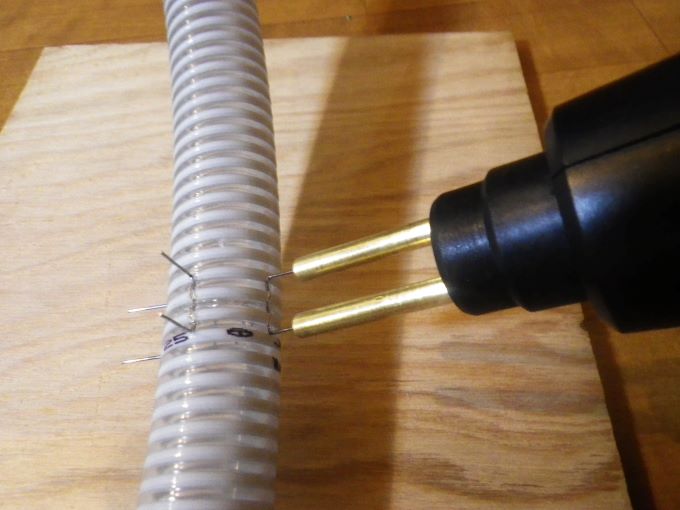
トリマーの先端につけるビットを外す際に、2本のレンチを使うのですが、これが薄い金属で、グニャッ!と曲がってしまいました! これでは取り外しできないし叩いて直してもまたすぐ曲がってしまいます。。。いくら安価な機械を買ったとはいえ、この付属工具はショボすぎです。。。

step3
2本中1本のレンチは、約3mmの隙間にレンチを差し込まなくてはならないので、通常のレンチでは入りません。かといって、市販の薄型レンチでは深さが足りず回す時に滑ってしまう可能性大!
step4
そのため、通常の8mmレンチをグラインダーで削って薄くして、さらに深さを確保するために内側を深く削り込みました。棒ヤスリで整えて完成!

step5
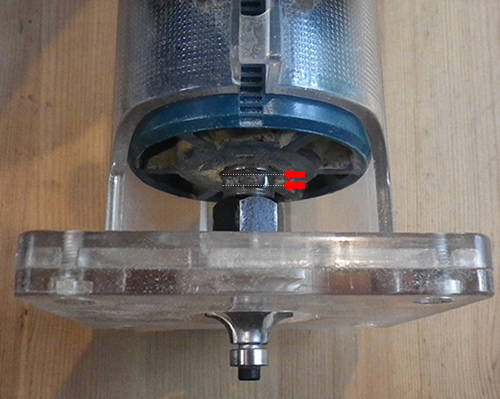
もう片方の大きい方のレンチは、太いボルトを回すのでそのままで使えます。
step6
これでチャック部分にピッタリとレンチが入り、ビットの取り外しがスムーズにできるようになりました!

step7
レンチが頑丈になったので、締めすぎには注意です。
step8
動作確認OK!ビットはしっかり固定できています。工具の接地面が増えたので、使う人にも機械にも優しい専用工具となりました。

コツ・ポイント
レンチの先端だけ削ることで、握りやすさも確保しながら狭い場所にもアプローチできます。小さいほうはコンビレンチのほうが握りやすいです。
やってみた感想
トリマーを使うたびに必要な工具なので、これくらいは強度があったほうが安心です。強度を気にせずビットの取り外しができるようになって満足です!

このレシピのキーワード
いいね
1
お気に入り
0
このレシピをシェア
ログインしてコメントする
このレシピを投稿したユーザー
日頃から身の回りの物や便利アイテムを作ったりしてDIYを楽しんでいます。
不便を感じたらそれを解消できる物を考え制作し、必要なパーツも市販で無ければ可能な限り自分で作ります。
大工などの経験は無いですが、今まで独自に得てきたノウハウやアイデアでどこまでやれるか日々挑戦中です!
投稿済みレシピ(165)
2025年06月29日
2025年05月16日

2025年04月27日
2025年02月28日
2025年02月13日

